Learn how to sharpen a kitchen knife at home with simple steps for a razor-sharp edge, making food prep safer and more enjoyable.
Ever felt a little intimidated by knife sharpening? You’re not alone! Many home cooks, especially when starting out, see it as a chore best left to professionals. The thought of a dull knife can be frustrating, leading to clumsy cuts and a less-than-perfect cooking experience. But what if I told you that getting that satisfyingly sharp edge is completely achievable right in your own kitchen?
Here at CookCanvas, we believe every cook deserves to feel confident with their tools. This guide is designed to break down the process of sharpening your kitchen knives into easy-to-follow steps. We’ll cover everything you need to know, from the basic tools to the actual sharpening motion, ensuring you achieve a sharp, safe, and effective blade. Get ready to transform your cooking!
Why a Sharp Knife Matters (More Than You Think!)
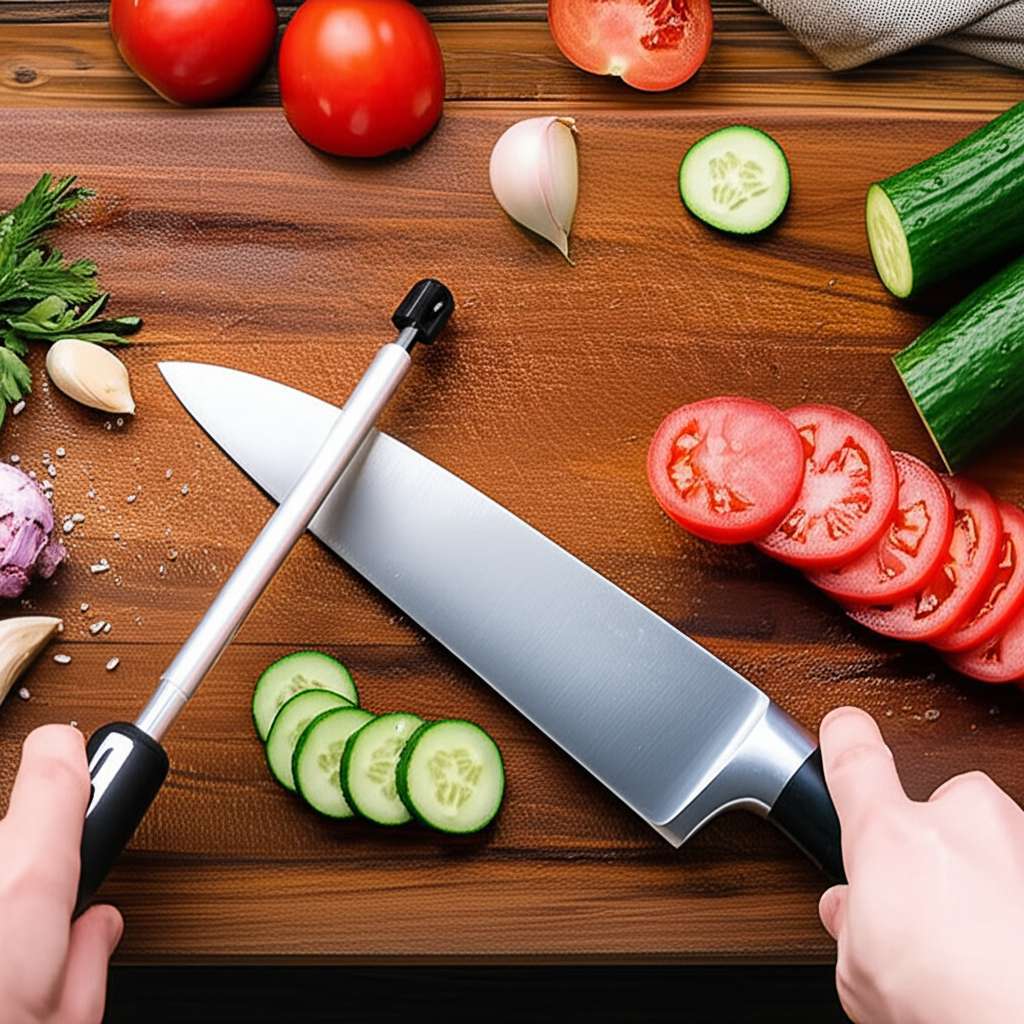
A sharp knife isn’t just about looking professional; it’s about safety and efficiency. When a knife is dull, it tends to slip. Instead of slicing cleanly through food, it can push it around or, worse, slide off the surface, increasing the risk of cutting yourself. A sharp blade, on the other hand, glides through ingredients with minimal pressure, giving you more control and making cooking tasks much more pleasant.
Think about slicing a ripe tomato. A dull knife will likely crush it, making a mess. A sharp knife will slice right through, leaving clean, beautiful edges. This precision makes a big difference in how your food looks and even how it cooks. Plus, the less force you need to apply, the less tired your hands and wrists will get, especially during longer prep sessions.
Your Sharpening Toolkit: What You’ll Need
Don’t worry, you don’t need a fancy professional setup to sharpen your knives at home. Here are the essentials you’ll likely want to have on hand:
- Whetstone (Sharpening Stone): This is the most common and effective tool for sharpening. They come in different grits (coarseness levels). For general home use, a dual-grit stone (often 1000/4000 or 1000/6000 grit) is a great starting point. The lower grit (e.g., 1000) is for repairing and reshaping the edge, while the higher grit (e.g., 4000 or 6000) is for refining and polishing it to a keen edge.
- Water or Honing Oil: Most whetstones are designed to be used with water. Some oil stones require honing oil. Check your stone’s instructions!
- A Stable Surface: You’ll need a flat, non-slip surface to place your whetstone on. A damp cloth or a non-slip mat under the stone helps keep it from moving during sharpening.
- Your Kitchen Knife: Of course! Make sure it’s clean and dry before you start.
- A Towel: For wiping down your knife and cleaning up any mess.
Quick Tip: If you’re unsure about what grit to buy, a 1000-grit stone is excellent for general sharpening, and a 6000-grit stone will give you that truly laser-sharp finish. Many affordable sets combine these.
Understanding Your Whetstone: Grit Matters
The “grit” of a whetstone refers to the size of the abrasive particles on its surface. Think of it like sandpaper: lower numbers mean coarser grit, and higher numbers mean finer grit.
| Grit Range | Purpose | Description |
|---|---|---|
| Under 1000 | Repair & Reshaping | For heavily damaged or very dull knives. Use sparingly as it removes a lot of metal. |
| 1000 – 3000 | Sharpening | The sweet spot for most home cooks. Restores a good edge to a moderately dull knife. |
| 4000 – 8000+ | Polishing & Honing | Refines the edge to razor sharpness and removes any burrs. Makes the knife feel incredibly smooth when cutting. |
For a beginner, a dual-grit stone (like 1000/6000) is a fantastic all-rounder. You’ll use the 1000 grit to get the edge back and the 6000 grit to make it beautifully sharp and smooth.
Step-by-Step: How to Sharpen Your Kitchen Knife
Ready to get your hands (carefully!) on the process? Let’s walk through it. Remember, patience is key here. This isn’t a race!
-
Prepare Your Whetstone
If you have a water stone, soak it in water until the air bubbles stop rising. This usually takes about 5-10 minutes. For oil stones, apply a thin layer of honing oil. Place the wet or oiled stone on your stable, non-slip surface, coarse side up (if using a dual-grit stone). A damp cloth or a stone holder works wonders to keep it from sliding.
-
Find the Right Angle
This is crucial! Most Western-style kitchen knives have an edge angle of around 15-20 degrees per side. A good trick to find this angle is to place the knife flat on the stone, then lift the spine of the blade up until it’s about the thickness of a dime or a stack of two pennies. Some people use angle guides, but practicing the “dime” method helps you develop a feel for it.
-
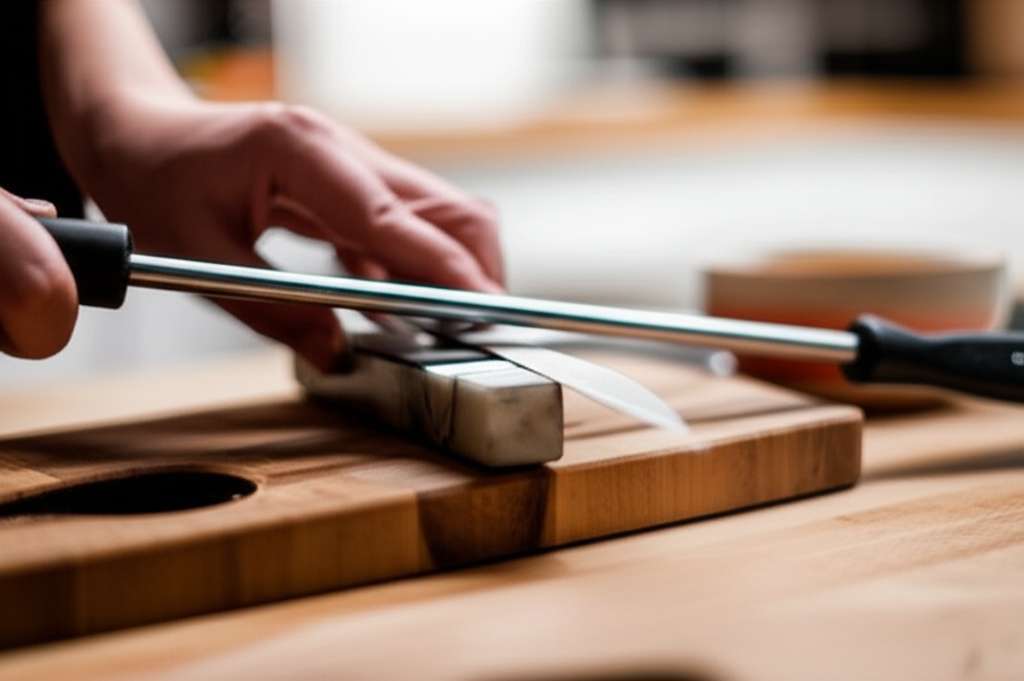
Sharpen One Side
Hold the knife firmly but relaxed. Place the heel of the blade (the part closest to the handle) on the stone at your chosen angle. Apply gentle, even pressure, and pull the knife towards you in a smooth, sweeping motion. Imagine you’re trying to shave a thin layer off the stone. Lift the knife, move it slightly up the stone to the next section of the edge, and repeat. Work your way from heel to tip, covering the entire edge. Do this about 10-15 times.
-
Sharpen the Other Side
Now, flip the knife over. Repeat the same motion and angle on the other side of the blade. Again, use consistent pressure and pull the knife towards you. Aim for the same number of strokes (10-15) on this side. The goal is to create a symmetrical edge.
-
Refine the Edge (If Using a Dual-Grit Stone)
Once you’ve finished with the coarser grit, flip your whetstone to the finer grit side. Repeat steps 3 and 4 on this finer side. This step polishes the edge, making it incredibly sharp and smooth. Use fewer strokes here, maybe 5-10 per side, with even lighter pressure.
-
Check for a Burr
A “burr” is a tiny ridge of metal that forms on the opposite side of the edge you’re sharpening. To check for it, carefully run your fingertip away from the edge along the side you just finished. You should feel a slight catch or roughness. If you don’t feel it on either side, do a few more light strokes on each side of the finer grit.
-
Stropping (Optional but Recommended)
Stropping removes any remaining burr and further aligns the microscopic teeth of the blade for ultimate sharpness. If you have a leather strop, hold it flat and gently drag the knife across it, spine leading, at the same sharpening angle. Do this 5-10 times on each side. If you don’t have a strop, you can use the finest grit side of your whetstone for a few gentle, alternating strokes.
-
Clean and Test
Rinse your knife thoroughly with water to remove any metal particles or slurry. Dry it completely with a towel. To test the sharpness, try slicing through a piece of paper. If it cuts cleanly without snagging, you’ve done it! Congratulations!
Common Beginner Mistakes (And How to Fix Them!)
It’s totally normal to encounter a few bumps along the road. Here are some common beginner issues and simple fixes:
- Mistake: Inconsistent Angle. This leads to an uneven edge that won’t get sharp.
Fix: Use an angle guide or practice the “dime” trick consistently. Focus on keeping the angle the same throughout each stroke. - Mistake: Too Much Pressure. Pressing too hard can damage the stone and the knife, and it doesn’t make it sharpen faster.
Fix: Use gentle, steady pressure. You’re guiding the blade, not forcing it. Think of it as a smooth glide. - Mistake: Not Sharpening Both Sides Equally. This results in a blade that cuts unevenly.
Fix: Count your strokes on each side and try to keep them balanced. Aim for the same number of passes on both sides of each grit. - Mistake: Not Feeling for the Burr. Without addressing the burr, your knife won’t reach its full potential sharpness.
Fix: Carefully feel for that slight roughness with your fingertip (moving away from the edge!). If it’s not there, do a few more alternating strokes to create it, then refine it away.
Pro Tips for a Sharper Edge
Want to elevate your sharpening game? Try these little tricks:
- Keep it Wet: For water stones, always keep the surface moist. Add a little water as you go if it starts to dry out. This helps create a slurry, which aids in sharpening.
- Maintain Your Stone: Over time, whetstones can develop a “dish” in the center. You can flatten them using a flattening stone or sandpaper on a flat surface to ensure consistent sharpening.
- One Direction is Best: Always pull the knife towards you on the stone. Pushing away can damage the stone and isn’t as effective for creating a clean edge.
- Don’t Over-Sharpen: Sharpening removes metal. Only sharpen when your knife truly needs it (when it’s no longer slicing easily). For daily maintenance, a quick honing on a steel rod is often enough.
- Cleanliness is Key: Always clean your knife thoroughly after sharpening to remove any metal particles. This prevents them from transferring to your food.
- Storage Matters: Protect your newly sharpened edge by storing your knives properly in a knife block, magnetic strip, or blade guard. Avoid tossing them loosely in a drawer!
Knife Types & Blade Uses: A Quick Guide
While the sharpening process is similar for most knives, understanding your blade can help you appreciate its purpose. Here’s a look at some common kitchen knife types:
| Knife Type | Blade Shape & Size | Primary Uses | Sharpening Angle (Approximate) |
|---|---|---|---|
| Chef’s Knife | 8-10 inches, broad, curved blade | Chopping, slicing, mincing, dicing all types of food. The workhorse of the kitchen. | 15-20 degrees (Western), 10-15 degrees (Japanese) |
| Paring Knife | 2-4 inches, small, pointed blade | Peeling, trimming, intricate work like deveining shrimp or creating garnishes. | 15-20 degrees |
| Serrated Knife (Bread Knife) | 8-10 inches, saw-like edge | Slicing bread, tomatoes, and other foods with tough exteriors and soft interiors. | Generally not sharpened at home; professional sharpening is recommended for serrations. |
| Santoku Knife | 5-7 inches, straighter edge with a rounded or squared-off tip | Dicing, slicing, and mincing. Often features Granton edges (dimples) to prevent food from sticking. | 10-15 degrees (Japanese style) |
Note on Serrated Knives: While most home cooks don’t sharpen serrated knives, if yours becomes dull, it’s often best to send it to a professional. They have specialized tools to maintain the teeth without damaging the blade.
Frequently Asked Questions About Knife Sharpening
What is the safest way to sharpen a knife at home?
Safety starts with a stable surface. Always place your sharpening stone on a non-slip mat or damp cloth. Keep your fingers away from the blade’s path, and maintain a firm but relaxed grip on the knife. Work slowly and deliberately, focusing on the task at hand.
How often should I sharpen my kitchen knives?
It depends on how often you use them and what you’re cutting. A good rule of thumb is to sharpen when you notice a decline in performance – when slicing becomes difficult or the knife starts to crush food. For most home cooks, sharpening every 3-6 months is sufficient, with honing more frequently.
Can I use a sharpening steel instead of a whetstone?
A sharpening steel (also called a honing steel) is primarily for honing, not sharpening. Honing realigns the microscopic edge of your blade, which can become bent or wavy during use. Sharpening actually removes metal to create a new, sharp edge. You’ll need a whetstone to sharpen, but a steel is great for maintaining sharpness between sharpening sessions.
What is a burr and why do I need to remove it?
A burr is a thin, ragged edge of metal that forms on the opposite side of the blade as you sharpen. It’s a sign that you’ve been sharpening effectively. However, a burr is weak and will break off unevenly, leaving your knife dull and prone to snagging. Removing it with fine grit stones or stropping creates a clean, sharp edge.
How do I know when my knife is sharp enough?
The paper test is a classic! Hold a piece of printer paper vertically and try to slice through it with your knife. A sharp knife should slice cleanly through with little to no resistance, as if you were cutting butter. You can also test it on a ripe tomato or an onion; a sharp knife will bite into the skin effortlessly.
What types of knives should I not sharpen at home?
While most kitchen knives can be sharpened at home, very specialized knives like micro-serrated blades, Damascus steel knives with complex patterns, or knives with ceramic blades are often best left to professional sharpeners who have the right equipment and expertise.
Your Kitchen, Your Canvas
See? Sharpening a kitchen knife at home is totally within your reach! By understanding the tools, taking your time with each step, and practicing that consistent angle, you’re well on your way to enjoying the benefits of a truly sharp blade. Remember that every time you sharpen, you’re not just maintaining a tool; you’re building a skill and gaining confidence in your kitchen.
So grab your knife, find your stone, and give it a go. The joy of slicing effortlessly through your favorite ingredients is a reward in itself, and with a little practice, you’ll find it becomes second nature. Happy cooking!