
Amangiri Resort Pancake Recipe: Deliciously Fluffy
Unlock the secret to perfectly fluffy pancakes with this easy-to-follow Amangiri Resort-inspired recipe. We’ll guide you through simple steps to achieve light, airy, and incredibly delicious pancakes right in your own kitchen. Get ready to impress yourself and your loved ones with this delightful breakfast treat!
Have you ever dreamed of waking up to a stack of pancakes so light and fluffy they seem to float? Many home cooks find achieving that perfect pancake texture a bit tricky, often ending up with flat, dense disks instead of airy delights. It’s a common kitchen quest! But don’t worry, with a few simple techniques and this foolproof recipe inspired by the luxurious Amangiri Resort, you’ll be flipping golden, cloud-like pancakes in no time.
This guide is designed for you, whether you’re just starting your cooking adventure or looking to elevate your breakfast game. We’ll break down every step, explaining why each part matters, so you feel confident and in control. Get ready to discover the simple secrets to fluffy pancakes that will make your mornings brighter. Let’s dive into creating your own restaurant-worthy breakfast!
Why This Amangiri Resort Pancake Recipe Works Wonders
The magic of truly fluffy pancakes lies in a few key principles that are surprisingly simple to master. It’s not about fancy ingredients, but about how you treat them. We’re going to focus on creating a light batter that traps air, which then expands beautifully when cooked.
Think of it like baking a cake – the right balance of ingredients and gentle handling is crucial. This recipe, inspired by the renowned Amangiri Resort, distills those secrets into an easy-to-follow process. You’ll learn how to activate leavening agents effectively and cook your pancakes to golden perfection.
Gather Your Ingredients: The Building Blocks of Fluffy Pancakes
Having all your ingredients measured and ready before you start makes the cooking process smooth and enjoyable. This list is designed for simplicity and delicious results, just like you’d expect from a top resort.

Pancake Ingredients
- 2 cups all-purpose flour
- 2 tablespoons granulated sugar
- 2 teaspoons baking powder
- 1/2 teaspoon baking soda
- 1/4 teaspoon salt
- 1 large egg
- 1 3/4 cups buttermilk (or milk with 1 tbsp lemon juice/vinegar, let sit for 5 mins)
- 2 tablespoons unsalted butter, melted, plus more for greasing
- 1 teaspoon vanilla extract (optional, but recommended for extra flavor)
These ingredients work together to create that signature fluffy texture. Baking powder and baking soda are your leavening agents, creating bubbles in the batter. Buttermilk adds a lovely tang and helps activate the baking soda for an extra lift.
Essential Tools for Pancake Perfection
You don’t need a professional kitchen to make amazing pancakes. These common kitchen tools will set you up for success.
Pancake Tools
- Large mixing bowl
- Whisk
- Measuring cups and spoons
- Small bowl or liquid measuring cup
- Spatula (preferably thin and flexible)
- Griddle or large non-stick frying pan
- Ladle or 1/4 cup measuring cup for pouring batter
Having everything within reach means you can focus on the batter and the cooking without searching for a missing utensil. A good non-stick surface is key for easy flipping!
Step-by-Step Guide: Crafting Your Fluffy Pancakes
Now for the fun part! Follow these straightforward steps to create pancakes that rival any resort’s. Remember, the key to fluffiness is gentle mixing.
Step 1: Combine the Dry Ingredients
In your large mixing bowl, add the all-purpose flour, granulated sugar, baking powder, baking soda, and salt. Whisk them together thoroughly. This ensures that the leavening agents and salt are evenly distributed throughout the flour.
Even distribution is important so every bite of your pancake gets that perfect rise. It’s a simple step that makes a big difference in the final texture.

Step 2: Prepare the Wet Ingredients
In a separate small bowl or liquid measuring cup, whisk together the egg and the buttermilk. If you’re using the milk and lemon juice/vinegar substitute, make sure it has had a few minutes to sit and curdle slightly. Then, stir in the melted butter and vanilla extract (if using).
This mixture will be added to your dry ingredients. The egg adds richness and structure, while the buttermilk contributes to tenderness and lift.
Step 3: Gently Combine Wet and Dry Ingredients
Pour the wet ingredients into the bowl with the dry ingredients. Now, here’s the crucial part: mix until just combined. A few lumps in the batter are perfectly fine, even desirable! Overmixing develops the gluten in the flour, which can lead to tough, flat pancakes.
Think of it as a gentle hug for your batter, not an aggressive workout. Stop mixing as soon as you don’t see large pockets of dry flour.
Step 4: Heat Your Griddle or Pan
Place your griddle or non-stick frying pan over medium heat. Allow it to heat up for a few minutes. A good test is to flick a drop of water onto the surface; it should sizzle and evaporate quickly.
Getting the pan to the right temperature ensures even cooking. Too low, and they’ll be pale and greasy; too high, and they’ll burn before they cook through.
Step 5: Grease the Cooking Surface
Lightly grease the hot griddle or pan with a little butter. You don’t need much – just enough to prevent sticking. Wipe away any excess with a paper towel.
A lightly greased surface ensures your beautiful pancakes slide off easily. This prevents tearing and makes flipping a breeze.
Step 6: Pour the Batter
Using a ladle or a 1/4 cup measuring cup, pour the batter onto the hot griddle. Leave some space between each pancake so they don’t run into each other. Aim for about 3-4 pancakes at a time, depending on the size of your pan.
Pouring in consistent amounts helps them cook evenly. The size of the pancake is up to you, but a 4-inch diameter is a good starting point.
Step 7: Cook the First Side
Cook for about 2-3 minutes, or until you see bubbles forming on the surface of the pancake and the edges look set. This is your cue that it’s time to flip. Don’t rush this step; let those bubbles do their work!
These bubbles are a sign that the leavening agents are working their magic, creating that fluffy interior. Patience here is rewarded.
Step 8: Flip and Cook the Second Side
Carefully slide your spatula under the pancake and flip it over. Cook for another 1-2 minutes on the second side, or until golden brown and cooked through. The pancake should feel slightly firm when pressed gently.
A confident flip is key! If you’re nervous, use two spatulas for support. The second side usually cooks a little faster.
Step 9: Serve Immediately
Transfer the cooked pancakes to a plate. You can keep them warm in a low oven (around 200°F or 93°C) while you cook the rest of the batter. Serve with your favorite toppings like maple syrup, fresh berries, or a dollop of whipped cream.
Freshly made pancakes are the best! Enjoy the warm, fluffy goodness straight from the griddle.
Tips for Extra Fluffy Pancakes
Beyond the basic steps, a few extra tricks can elevate your pancakes to cloud-like perfection. These are small adjustments that make a big impact on your final breakfast.
Advanced Fluffiness Techniques
- Don’t Overmix: I can’t stress this enough! Lumps are your friend.
- Let the Batter Rest: Allowing the batter to sit for 5-10 minutes after mixing gives the gluten a chance to relax and the leavening agents to start working.
- Use Room Temperature Ingredients: Eggs and buttermilk incorporate better into the batter when they’re not straight from the fridge.
- Medium Heat is Key: Too hot and the outside burns, too cool and they spread too much.
- Don’t Press Down: Resist the urge to press the pancakes with your spatula while they cook. This pushes out the precious air bubbles.
These little adjustments are what separate good pancakes from truly extraordinary ones. They’re simple habits to build in the kitchen.
Understanding Ingredient Substitutions
Sometimes you might be missing an ingredient or want to adapt the recipe. Here’s a quick guide to common substitutions for pancakes.
Pancake Ingredient Substitution Table
| Original Ingredient | Substitution | Notes |
|---|---|---|
| Buttermilk (1 3/4 cups) | 1 3/4 cups milk + 1 tbsp white vinegar or lemon juice (let sit 5 mins) | Creates a similar tangy, acidic reaction. |
| Buttermilk (1 3/4 cups) | 1 3/4 cups plain yogurt or kefir, thinned with a little milk if too thick | Adds extra tang and richness. |
| All-purpose flour (2 cups) | Gluten-free all-purpose flour blend (1:1 ratio) | May require slight adjustments to liquid for texture. |
| Granulated sugar (2 tbsp) | Honey or maple syrup (2 tbsp) | Will add a slightly different flavor and color. |
| Baking powder (2 tsp) | 1 tsp baking soda + 1 tsp cream of tartar | Use immediately after mixing. |
Always remember that substitutions can slightly alter the flavor or texture. It’s good to experiment to see what you prefer!
Cooking Temperatures and Times
Getting the cooking temperature and time just right is crucial for perfectly cooked pancakes. Here’s a general guide.
Pancake Cooking Temperature & Time Guide
| Stage | Temperature | Approximate Time | Visual Cues |
|---|---|---|---|
| Preheating Pan | Medium (350-375°F / 175-190°C for electric griddle) | 3-5 minutes | Water sizzles and evaporates quickly. |
| Cooking First Side | Medium | 2-3 minutes | Bubbles form and pop on the surface; edges look set. |
| Cooking Second Side | Medium | 1-2 minutes | Golden brown and cooked through. |
It’s important to note that stove temperatures can vary. It’s always best to do a test pancake to fine-tune the heat for your specific cooktop.
Frequently Asked Questions About Fluffy Pancakes
Got questions? I’ve got answers! Here are some common queries beginner cooks have about making pancakes.
Common Pancake Questions
Q1: Why are my pancakes flat and dense?
A: This is usually due to overmixing the batter, which develops the gluten too much. Try to mix only until the ingredients are just combined, and don’t be afraid of a few lumps!
Q2: My pancakes are burning on the outside but not cooked inside. What’s wrong?
A: Your heat is likely too high. Reduce the temperature to medium and allow the pancakes to cook more slowly. This ensures the inside has time to cook through before the outside gets too dark.
Q3: Can I make the pancake batter ahead of time?
A: It’s best to use pancake batter immediately after mixing. While you can let it rest for a short period (5-10 minutes), letting it sit for too long can cause the leavening agents to lose their power, resulting in flatter pancakes.
Q4: What’s the best way to flip pancakes?
A: Use a thin, flexible spatula. Slide it completely under the pancake, then with a quick, confident motion, flip it over. Don’t be afraid – a little practice makes perfect!
Q5: How can I make my pancakes taste richer?
A: You can add a little more melted butter to the batter, or swap some of the milk for heavy cream. A touch of vanilla extract or even a pinch of cinnamon can also boost flavor.
Q6: Is it okay to use milk instead of buttermilk?
A: Yes, you can! The easiest way to substitute is to add 1 tablespoon of white vinegar or lemon juice to 1 3/4 cups of regular milk and let it sit for about 5 minutes. It will curdle slightly and mimic the acidity of buttermilk, helping with fluffiness.
Q7: How do I keep pancakes warm while I finish cooking the batch?
A: Preheat your oven to a low temperature (around 200°F or 93°C). Place a baking sheet inside. As you finish each batch of pancakes, transfer them to the baking sheet in the oven. They’ll stay warm and soft.
Conclusion: Your Fluffy Pancake Journey
You’ve done it! You’ve unlocked the secrets to creating wonderfully fluffy pancakes, inspired by the elegance of the Amangiri Resort, right in your own kitchen. Remember, it’s all about gentle mixing, the right leavening, and a perfectly heated pan.
Don’t be discouraged if your first few aren’t absolute perfection; every cooking session is a learning opportunity. The most important thing is to enjoy the process and savor the delicious results. Now, go ahead and serve up those golden, cloud-like delights with your favorite toppings. Happy cooking and happy eating!
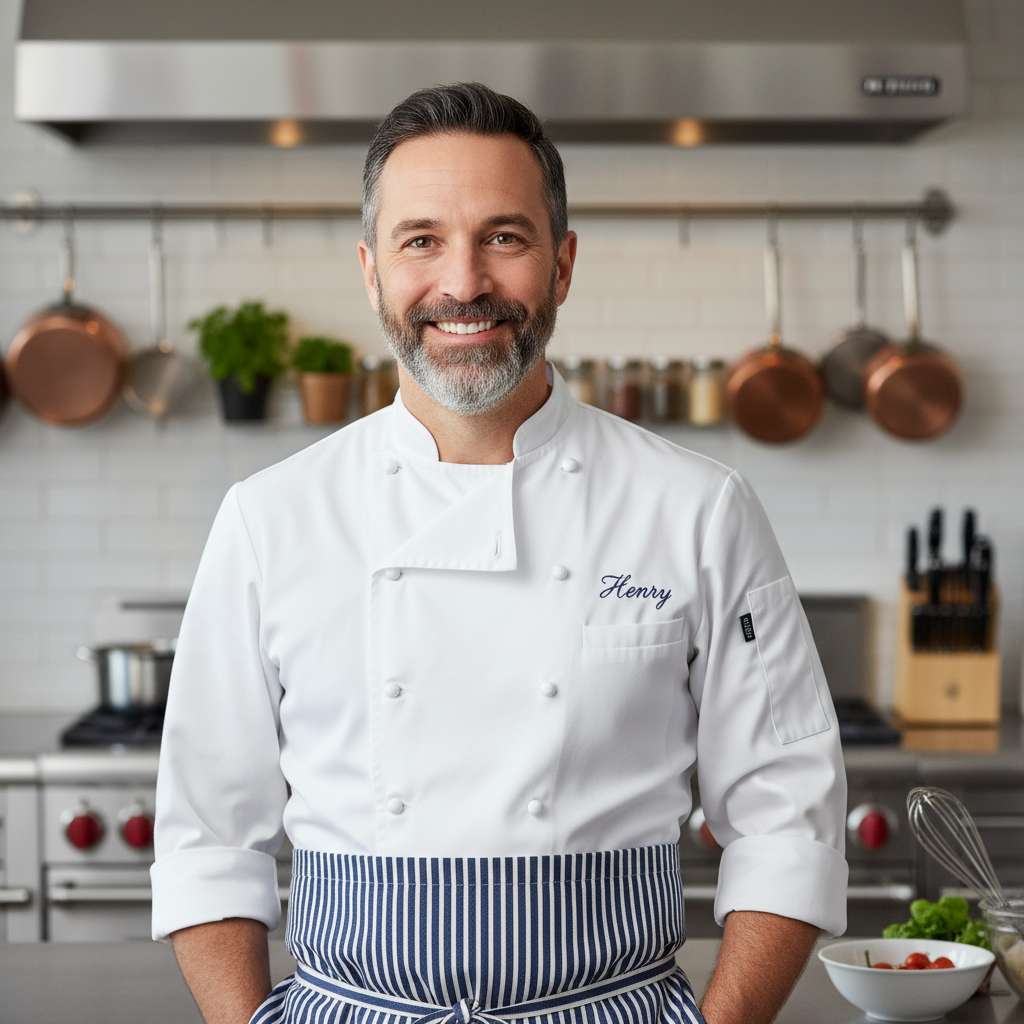
Henry is the creator of CookCanvas, where home cooking meets creativity. With a passion for making food simple and enjoyable, he helps beginners and busy families cook confidently at home. Through easy tutorials, time-saving tips, and practical recipes, Henry turns everyday ingredients into delicious, stress-free meals anyone can make.
When he’s not testing new recipes, you’ll find him exploring local markets, photographing food, and sharing kitchen wisdom that inspires confidence in every cook.