
This award-winning Texas chili recipe delivers amazing flavor with simple steps perfect for beginners. Learn how to create a rich, hearty chili that’s both delicious and easy to make at home.
Ever dreamed of making a chili so good it wins awards? You might think it’s complicated, but I promise, creating an amazing Texas chili is totally achievable, even if you’re just starting out in the kitchen. Many home cooks find chili recipes a bit daunting with their long ingredient lists and specific techniques. But don’t worry, we’ll break it down together, step by step.
Today, we’re diving into a truly special recipe that captures the heart of Texas chili. It’s packed with deep, savory flavors and has a wonderful texture that’s incredibly satisfying. Get ready to impress yourself and anyone you share it with. We’ll cover everything from picking the best ingredients to simmering it to perfection.
The Heart of Texas Chili: What Makes it Special?
Texas chili is famous for a reason! It’s a hearty, flavorful dish that celebrates bold ingredients and a slow-cooked depth. Unlike other chilis that might use beans or tomatoes, authentic Texas chili often focuses on the rich flavor of the meat and a complex blend of chili peppers. This recipe honors that tradition, bringing you a taste that’s both authentic and incredibly approachable for any home cook.
Gathering Your Award-Winning Ingredients
Choosing the right ingredients is key to unlocking that amazing flavor. Don’t be intimidated by the list; think of it as building layers of deliciousness. We’ll focus on quality and freshness to make your chili truly shine.
Essential Ingredients:
2 pounds beef chuck, cut into 1-inch cubes
2 tablespoons olive oil or vegetable oil
2 large yellow onions, chopped
4-6 cloves garlic, minced
2-3 dried ancho chili peppers, stems and seeds removed
2-3 dried guajillo chili peppers, stems and seeds removed
1-2 chipotle peppers in adobo sauce, minced (plus 1 tablespoon of the sauce)
1 tablespoon chili powder
1 teaspoon ground cumin
1 teaspoon smoked paprika
1/2 teaspoon dried oregano
1/4 teaspoon cayenne pepper (optional, for extra heat)
4 cups beef broth
1 (14.5 ounce) can diced tomatoes, undrained (optional, for a slightly saucier chili)
Salt and freshly ground black pepper to taste
Optional garnishes: Shredded cheddar cheese, sour cream, chopped fresh cilantro, sliced jalapeños
Ingredient Spotlight: The Chili Peppers
The soul of Texas chili comes from its chili peppers. For this recipe, we’re using dried ancho and guajillo peppers, which offer a deep, smoky, and slightly fruity flavor without overwhelming heat. Anchos are mild and sweet, while guajillos add a touch of tartness and a pleasant warmth. Chipotle peppers in adobo sauce bring a smoky kick and a hint of spice.
If you can’t find fresh dried peppers, high-quality chili powder blends are a good substitute, but the dried peppers truly elevate the flavor. You can usually find these specialty peppers in the international aisle of your grocery store or at Mexican markets.
Essential Kitchen Tools You’ll Need
You don’t need fancy equipment for this chili. Just a few common kitchen staples will do the trick! Having everything ready before you start cooking makes the process smooth and enjoyable.
Your Chili Toolkit:
Large heavy-bottomed pot or Dutch oven (5-quart or larger is ideal)
Cutting board
Sharp knife
Measuring spoons and cups
Small saucepan (for rehydrating peppers)
Blender or food processor (for making the chili paste)
Wooden spoon or spatula
Spatula or slotted spoon (for handling peppers)
Step-by-Step Guide to Amazing Texas Chili
Now for the fun part! We’ll take it slow and steady, building layers of flavor that will make this chili a family favorite. Follow these simple steps, and you’ll be enjoying a bowl of deliciousness in no time.
Step 1: Prepare the Dried Chili Peppers
This step is crucial for unlocking the full flavor of the dried peppers. We need to rehydrate them so they can be blended into a smooth paste. This paste will form the base of our chili’s incredible flavor.

1. Carefully remove the stems and shake out the seeds from the ancho and guajillo peppers. You can use kitchen shears for the stems.
2. Place the prepared dried peppers in a heatproof bowl.
3. Pour enough boiling water over the peppers to cover them completely. Let them soak for about 20-30 minutes until they are softened and pliable.
Step 2: Brown the Beef
Browning the beef is where we start building that rich, savory foundation for our chili. Don’t rush this step; getting a good sear on the meat adds depth and texture. This is a fundamental technique that makes a big difference.
1. Pat the beef cubes dry with paper towels. This helps them brown better rather than steam.
2. Heat the olive oil in your large pot or Dutch oven over medium-high heat until shimmering.
3. Working in batches if necessary to avoid overcrowding the pot, add the beef cubes and sear them on all sides until deeply browned.
4. Remove the browned beef from the pot with a slotted spoon and set it aside. Leave the drippings in the pot; they are full of flavor!
Step 3: Sauté the Aromatics
Now we’ll add the onions and garlic to the pot, sautéing them in the flavorful beef drippings. This process softens them and releases their sweet, pungent aromas, which will infuse the entire chili.
1. Reduce the heat to medium. Add the chopped onions to the pot and cook, stirring occasionally, until they are softened and translucent, about 5-7 minutes.
2. Add the minced garlic and cook for another minute until fragrant. Be careful not to burn the garlic, as it can turn bitter.
Step 4: Create the Chili Paste
This is where the magic of the chili peppers truly comes alive. We’ll blend the rehydrated peppers into a smooth paste to create a concentrated flavor base.
1. Drain the rehydrated chili peppers, reserving about 1/2 cup of the soaking liquid.
2. Place the softened peppers in a blender or food processor.
3. Add the minced chipotle peppers, adobo sauce, chili powder, cumin, smoked paprika, oregano, and cayenne pepper (if using).
4. Add about 1/4 cup of the reserved pepper soaking liquid.
5. Blend until you have a smooth paste. Add a little more soaking liquid if needed to achieve a smooth consistency, but don’t make it too watery.
Step 5: Combine and Simmer
Now we bring everything together! The chili paste joins the pot, and we let it all simmer to meld the flavors. This slow cooking process is what makes chili so comforting and delicious.
1. Add the chili paste mixture to the pot with the onions and garlic. Cook, stirring constantly, for about 2-3 minutes until fragrant. This step toasts the spices and deepens their flavor.
2. Return the browned beef to the pot.
3. Pour in the beef broth and the can of diced tomatoes (if using).
4. Bring the mixture to a simmer, then reduce the heat to low. Cover the pot and let the chili simmer gently for at least 1.5 to 2 hours, or until the beef is very tender. Stir occasionally to prevent sticking.
Step 6: Season and Serve
The final touch is to taste and adjust the seasonings. This is your chance to make the chili perfect for your palate. Then, it’s time to serve up your delicious creation!
1. Remove the lid and stir the chili. Taste and season generously with salt and freshly ground black pepper. If it seems too thick, you can add a little more beef broth or water.
2. If you prefer a thicker chili, you can simmer it uncovered for the last 15-20 minutes.
3. Serve hot, garnished with your favorite toppings.
Tips for an Even Better Chili
Want to take your chili from great to absolutely unforgettable? Here are a few extra tips that can elevate your cooking and help you troubleshoot common issues. These small adjustments can make a big difference.
Achieving the Perfect Consistency
Too Thick: If your chili becomes too thick during simmering, simply stir in a little more beef broth, water, or even a splash of beer until you reach your desired consistency.
Too Thin: For a thicker chili, you can either simmer it uncovered for a while to let some of the liquid evaporate, or you can create a slurry. Mix 1-2 tablespoons of masa harina (corn flour) or all-purpose flour with an equal amount of water to form a paste, then stir it into the simmering chili. Let it cook for another 10-15 minutes to thicken.
Spice Level Adjustments
The heat in chili is very personal! For more spice, add an extra chipotle pepper or a pinch of cayenne pepper. For less heat, remove more seeds and membranes from the dried chili peppers, or omit the chipotle peppers and cayenne pepper entirely. You can always add a dash of hot sauce at the table for individual preference.
Resting is Best
Like many stews and braises, chili often tastes even better the next day! The flavors have more time to meld and deepen. If you have the time, making it a day in advance is highly recommended for maximum flavor.
Understanding Key Chili Ingredients
Sometimes, understanding what each ingredient does can help you feel more confident in the kitchen. Here’s a quick look at some key players in our award-winning Texas chili.
Ingredient Functionality:
| Ingredient | Role in the Recipe | Why it Matters |
| :——————- | :—————————————————— | :————————————————————————— |
| Beef Chuck | The hearty base and protein | Provides rich flavor and tender texture when slow-cooked. |
| Dried Chili Peppers | Flavor foundation, color, and subtle heat | Offer complex, smoky, and fruity notes that powdered spices can’t replicate. |
| Onions and Garlic | Aromatics and flavor builders | Add sweetness and pungency, forming the savory backbone of the chili. |
| Spices (Cumin, etc.) | Depth, warmth, and aroma | Enhance the meaty and chili flavors, creating a complex taste profile. |
| Beef Broth | Liquid base and flavor enhancer | Adds moisture and deepens the savory beef flavor throughout the chili. |
| Chipotle in Adobo | Smoky heat and depth | Provides a distinct smoky flavor and a pleasant, lingering warmth. |
Safety and Storage of Your Chili
Proper food safety is important, especially when cooking with meat. Knowing how to store and reheat your chili ensures you can enjoy it safely and deliciously.
Safe Handling and Storage:
Refrigeration: Cool chili completely before refrigerating. Store in airtight containers in the refrigerator for up to 3-4 days.
Freezing: Chili freezes exceptionally well! Let it cool completely, then portion it into freezer-safe containers or bags. It can be frozen for up to 3-4 months.
* Reheating: Reheat refrigerated chili gently on the stovetop or in the microwave until steaming hot throughout. For frozen chili, thaw it in the refrigerator overnight and then reheat. According to the USDA, reheating food to an internal temperature of 165°F (74°C) is recommended to kill any harmful bacteria.
Frequently Asked Questions About Texas Chili
Here are some common questions beginners have about making chili, along with simple, helpful answers. Don’t hesitate to ask if you have more!
Q1: Can I use ground beef instead of beef chuck?
Yes, you can use ground beef, but it will change the texture. If you use ground beef, brown it well, drain off most of the fat, and then proceed with the recipe. Beef chuck, however, breaks down into incredibly tender, flavorful chunks, which is characteristic of authentic Texas chili.
Q2: What if I can’t find dried ancho or guajillo peppers?
No problem! You can substitute with high-quality chili powder and a little extra smoked paprika. For about 4-5 dried peppers, try using 3-4 tablespoons of good chili powder and 1 teaspoon of smoked paprika. You might also add a pinch of cayenne for a bit more kick if desired.
Q3: My chili is too spicy! What can I do?
Don’t worry! You can mellow out the heat by adding a touch of sweetness. Stir in a teaspoon of sugar or a tablespoon of molasses. A dollop of sour cream or a sprinkle of shredded cheese on top when serving also helps to balance the spice.
Q4: Can I add beans to my Texas chili?
Traditionally, Texas chili is made without beans. The focus is on the meat and chili pepper flavor. However, if you prefer chili with beans, feel free to add a can of drained and rinsed kidney beans or pinto beans during the last 30 minutes of simmering. It will be a delicious chili, just a different style!
Q5: How long should I simmer the chili?
The longer, the better! A minimum of 1.5 to 2 hours is recommended for the beef to become tender and the flavors to meld. If you have more time, simmering for 3-4 hours on low heat will yield an even richer, more tender chili. Just make sure it doesn’t dry out; add a little more broth if needed.
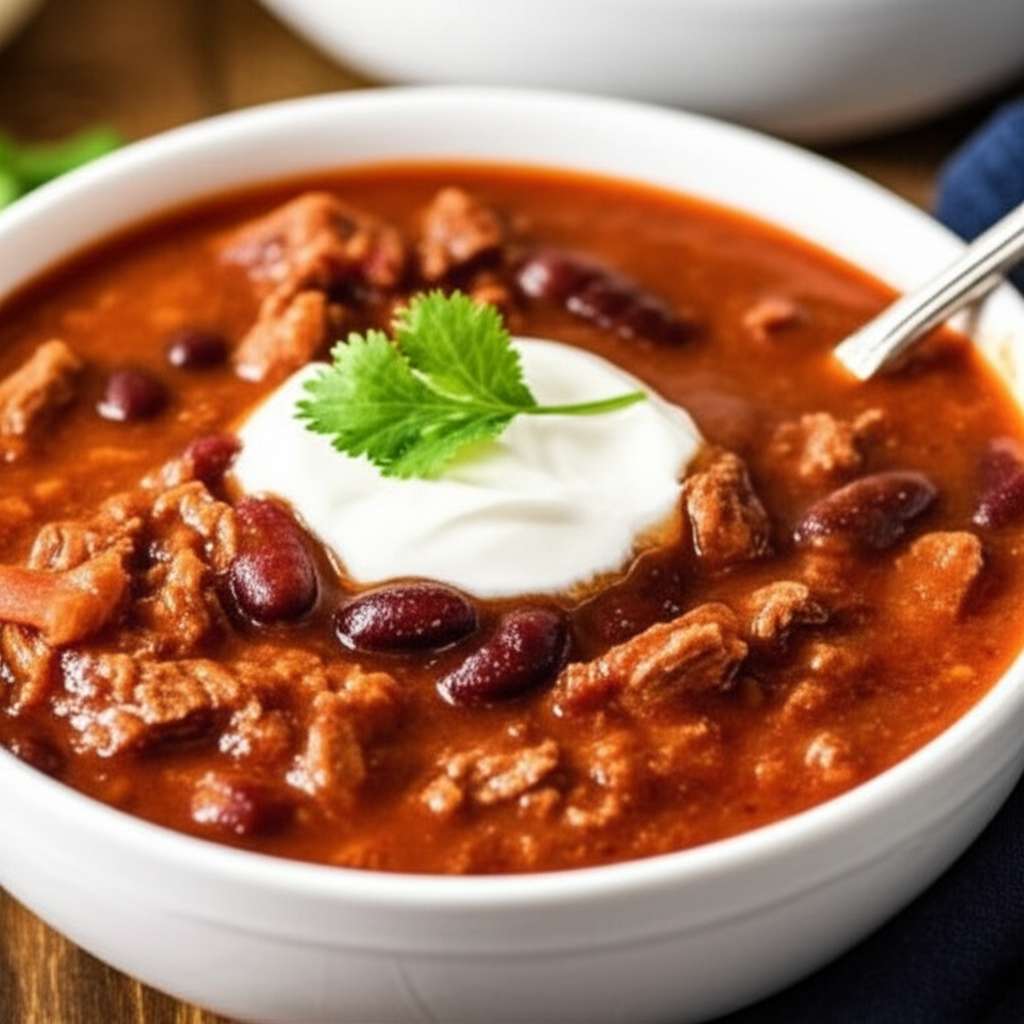
Q6: What are the best garnishes for Texas chili?
Classic garnishes include shredded sharp cheddar cheese, a dollop of sour cream or crema, fresh chopped cilantro, and sliced jalapeños for an extra kick. Some people also enjoy chopped raw onion or a side of cornbread for dipping!
Bringing It All Together: Your Chili Journey
You’ve done it! You’ve navigated the steps to create a truly amazing, award-winning Texas chili right in your own kitchen. From selecting those key chili peppers to the slow, comforting simmer, every step contributes to a flavor explosion that’s incredibly rewarding.
Remember, cooking is a journey of discovery. Don’t be afraid to taste as you go and make adjustments. This recipe is a fantastic starting point, and with each batch, you’ll learn and grow, finding your own perfect balance of flavors. So, serve up that hearty bowl, gather your loved ones, and savor the delicious results of your kitchen adventure. Happy cooking!