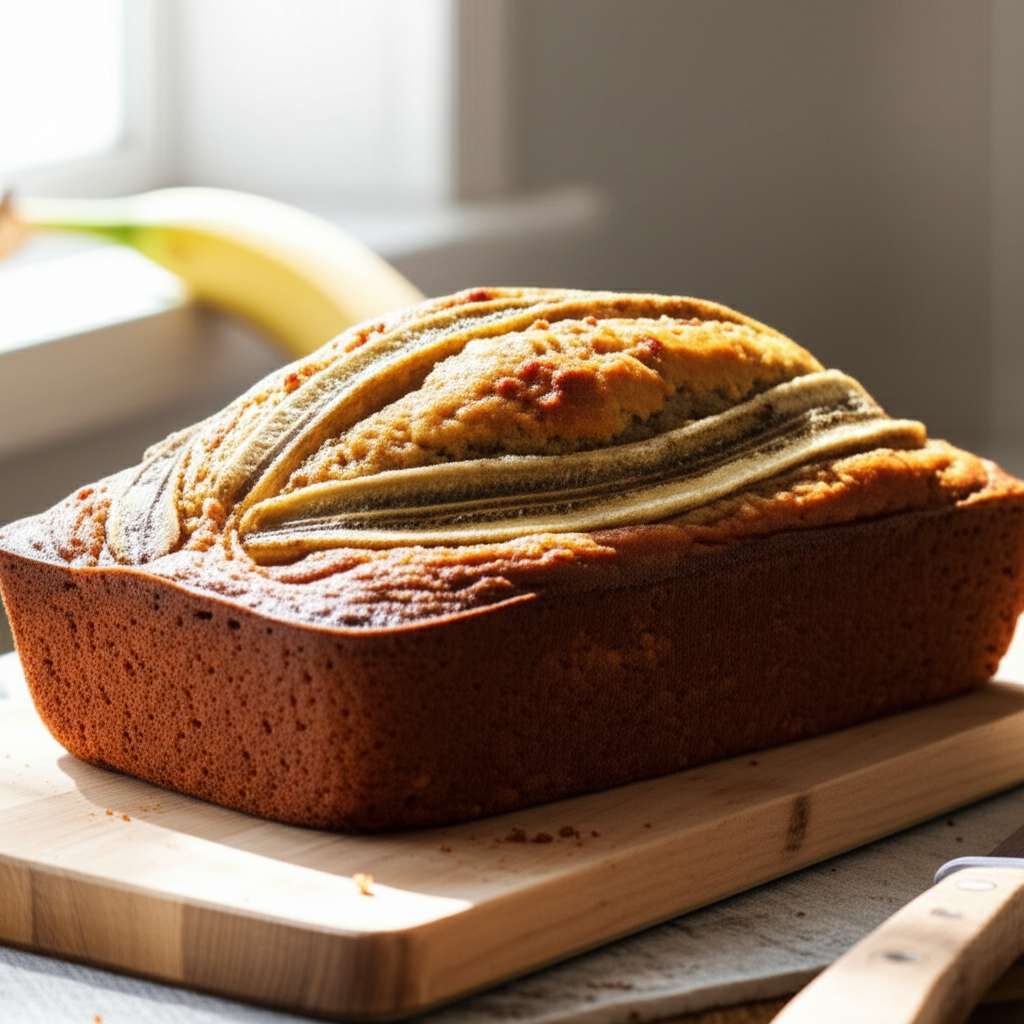
Craving delicious, homemade banana bread without the mess? This amazing quick recipe uses just one bowl, making cleanup a breeze while delivering moist, flavorful results. Perfect for beginners, it’s the easiest way to bake a classic treat that everyone will love.
Have you ever wanted to bake something comforting and delicious, like banana bread, but dreaded the mountain of dishes that followed? It’s a common kitchen frustration! Many recipes call for multiple bowls for wet ingredients, dry ingredients, and then even more for mashing bananas.
But what if I told you there’s a way to get that wonderful, home-baked banana bread flavor with minimal fuss and even less cleanup?
This one-bowl banana bread recipe is designed to be super simple. We’ll mix everything together right in one handy bowl, ditching the overwhelming cleanup so you can focus on the enjoyment of baking and tasting.
It’s perfect for those busy weeknights, lazy weekend mornings, or anytime that sweet craving strikes. Get ready to discover how easy and rewarding homemade banana bread can be! Let’s jump into this wonderfully straightforward recipe.
Your New Go-To One Bowl Banana Bread Recipe
Welcome to your new favorite way to make banana bread! This recipe is all about simplicity and deliciousness. We’ll walk through each step together, making sure you feel totally confident as you whip up this amazing treat. Getting perfect banana bread doesn’t require a culinary degree; it just needs a good, simple recipe and a little bit of love.
Why You’ll Love This One Bowl Method
There are so many reasons to choose a one-bowl banana bread recipe. It’s not just about saving on washing up, though that’s a huge plus! The simplicity also means less room for error, making it ideal for anyone just starting out in the kitchen.
Here’s what makes this recipe a winner:
Effortless Cleanup: This is the star benefit! Fewer dishes mean more time enjoying your banana bread and less time scrubbing.
Beginner Friendly: The steps are clear, and mixing everything in one bowl simplifies the process, reducing the chance of miss-steps.
Delicious Results: Despite its simplicity, this recipe yields a wonderfully moist, perfectly spiced, and intensely flavorful banana bread.
Quick Prep Time: You can have your batter ready to go into the oven in under 15 minutes.
Versatile: Easily adaptable to add your favorite add-ins like chocolate chips or nuts.
What You Need: Ingredients & Equipment
Gathering your ingredients and tools before you start is key to a smooth baking experience. This recipe keeps the ingredient list simple and uses common kitchen equipment. No fancy gadgets required here!
Ingredients:
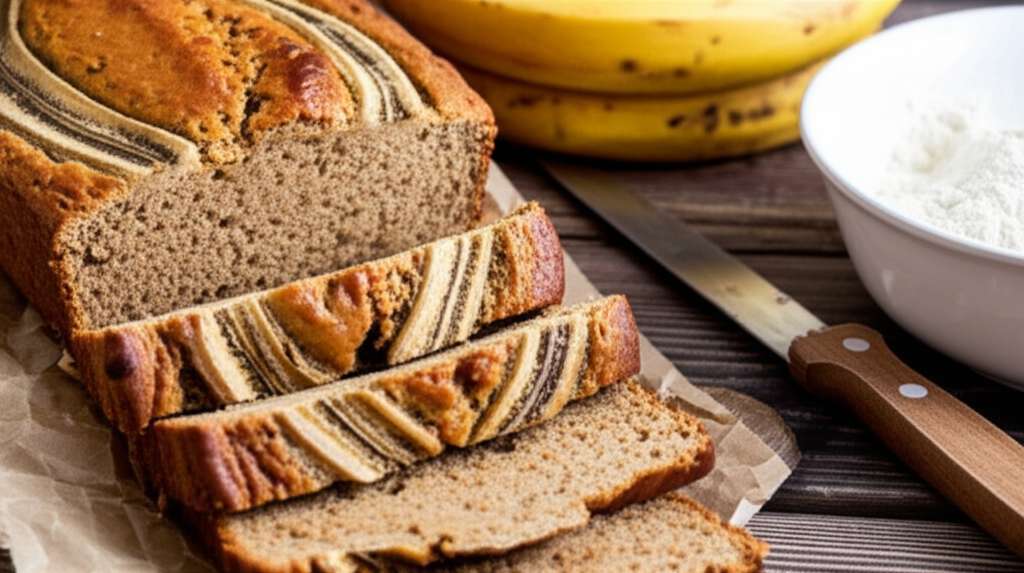
Having ripe bananas is crucial for the best flavor and sweetness in your banana bread. The riper they are, the easier they are to mash and the more intense their sweet banana flavor will be. Look for bananas with plenty of brown spots!
3 very ripe bananas
1/3 cup (75g) unsalted butter, melted
1/2 teaspoon baking soda, not baking powder
A pinch of salt (about 1/4 teaspoon)
3/4 cup (150g) granulated sugar
1 large egg, lightly beaten
1 teaspoon vanilla extract
1 1/2 cups (190g) all-purpose flour
Optional: 1/2 cup chocolate chips, chopped walnuts, or pecans
Equipment:
You likely have most of these items in your kitchen already. If you’re missing any, think about borrowing from a friend or picking them up at a local discount store – they’re all handy basics to have.
One large mixing bowl: This is our star player! Make sure it’s big enough to comfortably hold all your ingredients.
Fork or potato masher: For getting those bananas nice and mushy.
Measuring cups and spoons: Accuracy helps ensure your bread bakes up perfectly.
Whisk or fork: For mixing wet and dry ingredients together.
Spatula or wooden spoon: For folding in any optional add-ins.
9×5 inch loaf pan: The standard size for most banana bread recipes.
Oven: Preheating is super important for even baking.
Wire rack: For cooling your delicious bread.
Step-by-Step: Making Your Banana Bread Magic
Let’s get baking! Follow these simple steps, and you’ll have a beautiful loaf of banana bread that tastes like home in no time. Remember, baking is a journey, and each attempt gets a little easier and more rewarding.
Step 1: Prepare Your Pan and Preheat Your Oven
First things first, let’s get our workspace ready. This makes everything flow so much smoother.
Preheat your oven to 350°F (175°C). This temperature is perfect for baking banana bread evenly. While the oven heats up, grease and flour your 9×5 inch loaf pan. You can use butter, cooking spray, or even a little bit of oil for greasing. Then, sprinkle a tablespoon of flour into the pan and tilt it around until the inside is coated. Tap out any excess flour. This step helps prevent your beautiful bread from sticking to the pan.
Step 2: Mash Those Bananas Perfectly
Now for the star of our show: the bananas! The riper they are, the sweeter and easier they will be to mash.
In your large mixing bowl, add your three very ripe bananas. Use a fork or a potato masher to mash them until they are mostly smooth, with just a few small lumps remaining. Don’t worry about getting them perfectly smooth; a few lumps add a lovely texture to the finished bread. This is your first ingredient in our one-bowl adventure!
Step 3: Combine Wet Ingredients
We’re building flavor here, and it’s all happening in our single bowl!
To the mashed bananas, add the melted unsalted butter, the granulated sugar, the lightly beaten egg, and the vanilla extract. Give everything a good stir with a whisk or a fork until it’s well combined. The mixture might look a little glossy and fragrant from the vanilla – that’s a good sign!
Step 4: Add Baking Soda, Salt, and Flour
Now it’s time to introduce the dry ingredients. Baking soda is what helps our bread rise and become fluffy, while salt balances out the sweetness.
Sprinkle the baking soda and salt directly over the wet mixture in the bowl. Then, add the all-purpose flour. Don’t sift the flour unless the recipe specifically calls for it – for this simple banana bread, it’s not necessary and adds an extra step! We’re keeping it easy.
Step 5: Mix Until Just Combined
This is a crucial step for tender banana bread. You want to mix until the flour is just incorporated, not a moment longer. Overmixing can develop the gluten in the flour too much, leading to a tougher bread.
Using your spatula or wooden spoon, gently fold the flour into the wet ingredients. Mix until you no longer see any dry streaks of flour. A few small lumps are perfectly fine! Remember, we’re not aiming for a completely smooth batter here.
Step 6: Fold in Add-Ins (Optional)
If you’re feeling like adding a little something extra to your banana bread, now’s the time!
If you’re using chocolate chips, chopped nuts, or any other delicious additions, gently fold them in with your spatula. Just a few stirs to distribute them evenly throughout the batter should do it. Be careful not to overmix.
Step 7: Pour Batter into the Pan
Your batter is ready! It should be thick and beautifully speckled with banana.
Pour the batter evenly into your prepared loaf pan. Use your spatula to spread it out so the top is relatively smooth. This helps ensure your banana bread bakes up with a nice, even surface.
Step 8: Bake to Golden Perfection
The moment of truth! Into the oven it goes.
Bake for 50-65 minutes. The exact time will depend on your oven. You’ll know it’s done when a toothpick or a thin knife inserted into the center comes out clean, with no wet batter attached. If the top starts to brown too quickly, you can loosely tent it with aluminum foil for the last 15-20 minutes of baking.
Step 9: Cool and Enjoy!
Patience is a virtue, especially when your kitchen smells this good!
Once baked, carefully remove the loaf pan from the oven. Let the banana bread cool in the pan for about 10-15 minutes. This allows it to set up a bit more so it won’t fall apart when you remove it.
After that initial cooling, invert the loaf pan onto a wire rack to release the banana bread. Let it cool completely on the wire rack before slicing. This is important for texture! Trying to slice warm banana bread can result in a crumbly mess. Once it’s cool, slice it thick and enjoy the fruits of your one-bowl labor!
Tips for Banana Bread Success
Even with a simple recipe, a few extra tips can make your banana bread extraordinary. These are little insights that can help you troubleshoot any minor issues and elevate your baking game.
Choosing the Best Bananas
The type and ripeness of your bananas significantly impact the final flavor and moisture of your bread.
Ripeness is Key: Look for bananas that are heavily speckled with brown and almost mushy. These have the highest sugar content and the strongest flavor.
Slightly Green Bananas? If you only have slightly yellow bananas, you can ripen them faster in a few ways:
Place them in a brown paper bag for a day or two.
Bake them on a baking sheet at 300°F (150°C) for about 15-30 minutes, until the skins are black and they’re soft. Let them cool before mashing.
Don’t Overmix Your Batter
This is one of the most common mistakes beginner bakers make, and it’s easy to avoid!
Mix Until Just Combined: As mentioned in the steps, stop mixing as soon as the flour streaks disappear. A few lumps are okay and actually desirable for a tender crumb.
Why it Matters: Overmixing develops gluten, which can make your banana bread tough and dense instead of moist and tender.
Oven Temperature Matters
An accurate oven temperature is crucial for baking success.
Use an Oven Thermometer: Over time, oven thermostats can become inaccurate. An inexpensive oven thermometer can tell you the actual temperature inside your oven.
Adjust Accordingly: If your oven runs hot, you might need to slightly lower the temperature or reduce the baking time. If it runs cool, you might need to increase it. For more information on oven temperatures and conversions, the National Institute of Standards and Technology (NIST) has helpful resources on temperature conversions.
Variations: Personalize Your Banana Bread
Once you’ve mastered the basic one-bowl banana bread, don’t be afraid to get creative! This recipe is a fantastic canvas for your own personal touches.
Here are some ideas to inspire you:
Add-Ins for Extra Flavor and Texture
Consider adding these to your batter along with the flour or before baking:
Chocolate Chips: A classic for a reason! Dark, milk, or semi-sweet chocolate chips all work wonderfully.
Nuts: Chopped walnuts, pecans, or even almonds add a delightful crunch. Toasting them beforehand can deepen their flavor.
Dried Fruit: Raisins, cranberries, or chopped dates can add chewy sweetness.
Spices: Feeling adventurous? Add a pinch of cinnamon, nutmeg, or even cardamom to the dry ingredients for a warmer flavor profile. A recipe from the U.S. Department of Agriculture on holiday foods often includes spice recommendations that translate well to baked goods.
Gluten-Free or Vegan Options
If you have dietary restrictions, this recipe can often be adapted:
Gluten-Free: Substitute a good quality gluten-free all-purpose flour blend for the all-purpose flour. You may notice a slightly different texture, but it will still be delicious.
Vegan: To make this vegan, you would replace the butter with a non-dairy butter alternative or coconut oil, and the egg with a flax egg (1 tablespoon ground flaxseed mixed with 3 tablespoons water, let sit for 5 minutes) or a commercial egg replacer.
Storing Your Banana Bread
Proper storage will keep your delicious banana bread fresh and moist for days.
How to Store
Room Temperature: Once completely cooled, wrap the banana bread tightly in plastic wrap or store it in an airtight container. It will stay fresh for 2-3 days.
Refrigeration: For longer storage, you can refrigerate it. This can help it last up to a week, but it might dry out the bread slightly. Wrap it very well.
Freezing: Banana bread freezes beautifully! Wrap the cooled loaf tightly in plastic wrap, then in aluminum foil, or place it in a freezer-safe bag. It can be frozen for up to 3 months. Thaw it at room temperature or gently warm slices in the oven or microwave.
Frequently Asked Questions About One Bowl Banana Bread
Here are some common questions beginners might have as they make this recipe.
Q1: Why is my banana bread so dense?
A1: Density usually comes from overmixing the batter after adding the flour. Mixing them in just until combined, even if there are a few lumps, is key to a lighter texture. Also, make sure your baking soda is fresh and active, as it provides the lift.
Q2: My banana bread sunk in the middle. What happened?
A2: This can happen for a few reasons: the oven door may have been opened too early during baking, the oven temperature might have been too high causing the outside to set before the inside could rise, or the baking soda/powder might be old and lost its leavening power. Ensure your baking is done when a tester comes out clean and avoid opening the oven door unnecessarily.
Q3: Can I use frozen bananas for this recipe?
A3: Absolutely! Frozen bananas are often better* because they’ve ripened fully and become very soft and sweet. Just make sure to thaw them completely and drain off any excess liquid that may have separated during thawing before mashing.
Q4: How do I know if my bananas are ripe enough?
A4: The riper, the better! Look for bananas that are heavily speckled with brown spots, or that have turned mostly brown or even black. They will be soft, fragrant, and easy to mash. If your bananas are just yellow, they won’t provide as much sweetness or moisture.
Q5: Can I make muffins or cupcakes with this banana bread batter?
A5: Yes! This batter is perfect for muffins or cupcakes. Line a muffin tin with liners and fill each cup about two-thirds full. Bake at the same temperature (350°F/175°C) for 20-25 minutes, or until a toothpick inserted into the center comes out clean.
Q6: My banana bread is dry. How can I avoid this?
A6: Dry banana bread can be due to overbaking or not enough moisture. Ensure you’re using very ripe bananas, as they contribute a lot of moisture. Also, keep an eye on the baking time; it’s better to underbake slightly than to overbake. Testing for doneness with a toothpick is key – remove it from the oven as soon as it comes out clean.
Q7: What’s the difference between baking soda and baking powder?
A7: Baking soda needs an acidic ingredient (like banana, brown sugar, or buttermilk) to activate and create leavening. Baking powder contains both an acid and a base, so it’s a double-acting leavener. This recipe uses baking soda because the bananas and sugar provide the necessary acidity. Using baking powder instead of baking soda in this recipe would change the texture and flavor.
Enjoy Your Delicious, Effortless Creation!
There you have it – a simple, stress-free, one-bowl banana bread recipe that’s perfect for any home baker. You’ve transformed a few ripe bananas and pantry staples into a sweet, comforting treat, all without making a huge mess. See? You’ve got this!
Baking is all about enjoying the process and savoring the results. This recipe proves that you don’t need complicated techniques or tons of equipment to create something truly special. So, next time you see those bananas getting a little too spotty on the counter, you know exactly what to do.
Grab your bowl, get mashing, and fill your kitchen with that incredible aroma. Take a slice, share it with someone you care about, or enjoy it all yourself – you’ve earned it! Happy baking!