
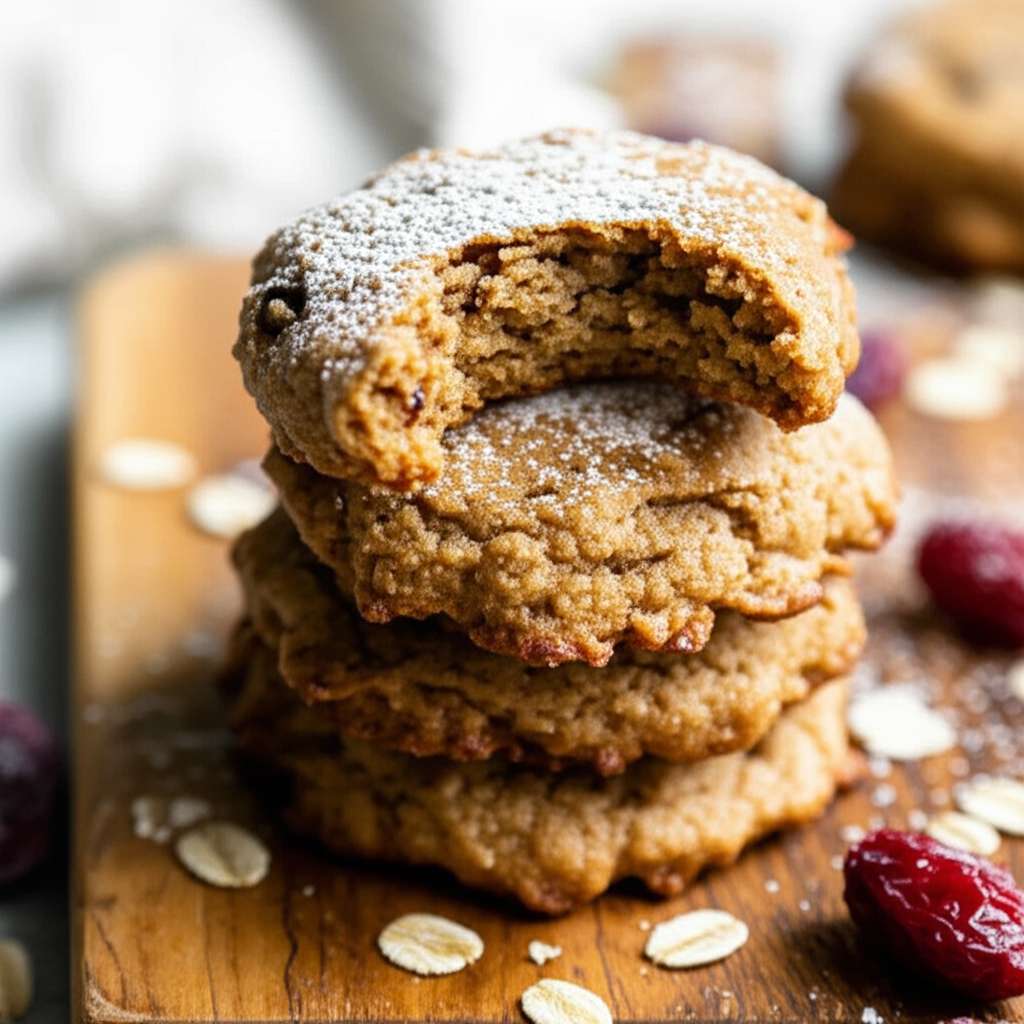
Whip up these incredibly easy breakfast cookies! Perfect for busy mornings, this recipe delivers a delicious, satisfying treat that’s simple enough for any beginner cook. Get ready for a go-to morning delight that’s wholesome and tasty.
Morning rush got you feeling like you’re always skipping the best meal of the day? It’s a common struggle! Many of us want a quick, tasty breakfast, but finding something that’s both easy to make and good for us can feel like a puzzle.
But what if your breakfast could be both a breeze to prepare and a delightful treat? Imagine delicious cookies, ready to grab and enjoy, that actually fuel your day. Sounds too good to be true? It’s not!
This guide is here to show you just how simple making these yummy breakfast cookies can be. We’ll walk through everything, from gathering your ingredients to the final, satisfying bite. Get ready to transform your mornings!
Your Go-To Breakfast Cookies Recipe: Simple, Wholesome, Delightful
Hey there, kitchen adventurers! Jonas here. I believe that delicious food shouldn’t be a chore, especially when it comes to starting your day. That’s why I’m so excited to share this super simple, totally forgiving breakfast cookies recipe with you.
These aren’t your average dessert cookies. Oh no! These babiesAre packed with wholesome goodness, making them a fantastic choice when you’re short on time but don’t want to compromise on taste or nutrition.

Whether you’re a seasoned baker or just learning to boil water, you can absolutely master this recipe. We’re talking minimal fuss, maximum flavor, and a batch of warm, comforting cookies that will make your mornings so much brighter.
Let’s get our aprons on and transform our mornings into something truly special, one delicious bite at a time!
Why You’ll Love These Breakfast Cookies
There are so many reasons why this breakfast cookies recipe is a winner, especially for beginners. They’re versatile, customizable, and a fantastic way to sneak in some good-for-you ingredients without anyone noticing!
- Incredibly Easy: Seriously, if you can mix ingredients in a bowl and roll them into balls, you can make these. No fancy techniques required!
- Make-Ahead Magic: Bake a batch on the weekend and have breakfast sorted for the whole week. Perfect for busy schedules!
- Customizable: Don’t love raisins? Add chocolate chips! Want more crunch? Throw in some nuts. These are your cookies, make them your own.
- Wholesome Ingredients: We’re using oats, fruits, and other good stuff to make them a more balanced start to your day.
- Kid-Friendly: If you’ve got little ones, they’ll love helping to mix and shape and even more popping them in their mouths.
Essential Tools for Your Breakfast Cookie Adventure
Before we dive into the deliciousness, let’s make sure you have the basic tools. Don’t worry if your kitchen isn’t packed with gadgets; we’re sticking to the essentials here. Having these ready will make the process smooth sailing!
- Large Mixing Bowl: For combining all those wonderful ingredients.
- Measuring Cups and Spoons: Accuracy helps ensure perfect cookies every time.
- Whisk or Fork: To gently combine wet ingredients.
- Spatula or Wooden Spoon: For stirring everything together.
- Baking Sheets: You’ll need one or two, depending on how big you make your cookies.
- Parchment Paper or Silicone Baking Mats: This is a game-changer for easy cleanup and preventing sticking!
- Oven: The magic happens here! Make sure you know how to set the temperature.
- Wire Cooling Rack: For letting your cookies cool down so they don’t get soggy.
The Heart of the Matter: Our Easy Breakfast Cookies Recipe
Alright, let’s get down to business! This recipe is designed to be straightforward, with clear steps that guide you all the way. We’re aiming for delicious, slightly chewy, satisfying cookies that are packed with goodness.
Ingredients You’ll Need
Here’s what you’ll need to gather. Don’t be intimidated by the list; most of these are pantry staples!
Dry Ingredients:
- 1 ½ cups rolled oats (old-fashioned oats work best for texture; use certified gluten-free if needed)
- 1 cup all-purpose flour (or whole wheat flour for extra fiber)
- ½ teaspoon baking soda
- ½ teaspoon ground cinnamon
- ¼ teaspoon salt
Wet Ingredients:
- ½ cup unsalted butter, softened (or coconut oil for a dairy-free option)
- ½ cup packed brown sugar (or maple syrup for a refined sugar-free option, though it might make them a bit softer)
- 1 large egg
- 1 teaspoon vanilla extract
Mix-ins (Get Creative Here!):
- ½ cup chopped nuts (like walnuts or pecans)
- ½ cup dried fruit (raisins, cranberries, chopped apricots)
- ½ cup chocolate chips (optional, but who can resist them?)
- ¼ cup shredded unsweetened coconut (optional)
Tip: If you’re using whole wheat flour and find your dough a little stiff, you can add a tablespoon or two of milk or water.
Step-by-Step Guide: Bringing Your Cookies to Life
Follow these simple steps, and you’ll be enjoying warm, homemade breakfast cookies in no time. Remember, baking is forgiving, so don’t stress if things aren’t perfectly precise!
-
Preheat and Prep:
First things first, let’s get your oven ready. Preheat it to 350°F (175°C). While it’s heating, line two baking sheets with parchment paper or silicone baking mats. This step is a lifesaver for cleanup!
-
Combine Dry Ingredients:
In your large mixing bowl, whisk together the rolled oats, flour, baking soda, cinnamon, and salt. Give it a good stir to make sure everything is evenly distributed. This ensures your cookies rise properly and have a consistent flavor.
-
Cream Wet Ingredients:
In a separate medium bowl, cream together the softened butter and brown sugar until the mixture is light and fluffy. You can use an electric mixer for this, or a sturdy whisk and some elbow grease! Then, beat in the egg and vanilla extract until well combined.
-
Combine Wet and Dry:
Now, pour the wet ingredients into the bowl with the dry ingredients. Stir with your spatula or wooden spoon until just combined. Be careful not to overmix here; we want tender cookies, not tough ones!
-
Fold in Your Mix-ins:
This is where the fun really begins! Gently fold in your chosen mix-ins like nuts, dried fruit, chocolate chips, or coconut. Stir just until they are evenly distributed throughout the dough. Again, avoid overmixing.
-
Shape the Cookies:
Drop rounded tablespoons of dough onto your prepared baking sheets. You can use two spoons or a small cookie scoop. Leave about 2 inches between each cookie, as they will spread slightly.
-
Bake to Perfection:
Bake for 10-13 minutes, or until the edges are golden brown and the centers are set. The baking time can vary depending on your oven and the size of your cookies, so keep an eye on them!
-
Cool and Enjoy:
Once baked, let the cookies cool on the baking sheets for a few minutes before transferring them to a wire rack to cool completely. This helps them firm up and prevents them from breaking. And then, the best part – enjoy your delicious, homemade breakfast cookies!
The Nutritional Lowdown: What Makes Them Wholesome?
These breakfast cookies are designed to be a step up from your typical sweet treat. The key is in the ingredients we chose, focusing on things that provide sustained energy and valuable nutrients.
Oats are fantastic! They’re a source of soluble fiber, which can help you feel full longer and is good for your heart. You can learn more about the benefits of whole grains from the American Heart Association.
Depending on your mix-ins, you’re also adding healthy fats from nuts, natural sweetness and fiber from dried fruits, and even antioxidants if you use dark chocolate chips!
Here’s a quick look at the nutritional powerhouses in our standard recipe:
| Ingredient | Nutritional Contribution | Why It’s Great for Mornings |
|---|---|---|
| Rolled Oats | Complex carbohydrates, fiber (beta-glucan) | Provides sustained energy release, promotes satiety, aids digestion. |
| Whole Wheat Flour (optional) | Fiber, B vitamins, minerals | Boosts fiber intake, contributes to longer-lasting energy. |
| Nuts (e.g., Walnuts, Almonds) | Healthy fats, protein, fiber, vitamins (E), minerals (magnesium) | Provides healthy fats for brain function, protein for fullness, and essential nutrients. |
| Dried Fruits (e.g., Raisins, Cranberries) | Natural sugars (for quick energy), fiber, vitamins, antioxidants | Offers a natural sweetness and a quick energy boost, with fiber to balance it out. |
| Butter/Coconut Oil | Fats | Helps with satiety and absorption of fat-soluble vitamins. Softer cookies tend to use more butter, harder ones less or more oats. |
Note: Nutritional values can vary significantly based on the exact ingredients and quantities used, as well as specific mix-ins. This table provides a general overview.
Customizing Your Mornings: Delicious Variations
Part of the joy of these breakfast cookies is how easily you can tailor them to your taste and what you have on hand. Don’t be afraid to experiment! Here are a few ideas to get your creative juices flowing:
Fruity Fun
- Swap raisins for dried cranberries, chopped apricots, or diced dates.
- Add ¼ cup of unsweetened applesauce for extra moisture and fruity flavor.
- For a tropical twist, try shredded coconut and a bit of finely chopped pineapple.
Nutty Delights
- Pecans, almonds, walnuts, or even hazelnuts all work wonderfully.
- A tablespoon or two of sunflower or pumpkin seeds can add a great crunch and nutrients.
- For a richer flavor, toast your nuts lightly before chopping them.
Spice It Up!
- Add ¼ teaspoon of nutmeg or ginger along with the cinnamon for a warmer spice blend.
- A pinch of ground cardamom can add an unexpected, delightful aroma.
“Healthy” Indulgence
- For a lower-sugar option, reduce the brown sugar slightly and rely more on the sweetness of dried fruits.
- Consider adding a tablespoon of chia seeds or flax seeds to the dry ingredients for an extra boost of omega-3s and fiber.
Chocolate Lover’s Dream
- Dark chocolate chips offer antioxidants.
- White chocolate chips add a creamy sweetness.
- Use mini chips for a more even distribution.
Remember, when adding wet ingredients like applesauce, you might need to slightly adjust the flour or oats to maintain the right dough consistency. It’s all about finding that perfect balance!
Tips for Success: Your Kitchen Companion’s Advice
As your friendly kitchen guide, I want to make sure you feel super confident. Here are a few extra tips to help your breakfast cookies turn out perfectly, every single time. These are the little things that make a big difference for us beginner cooks!
-
Softened Butter is Key:
Make sure your butter is softened, not melted. This means it should be soft enough to indent with your finger, but not greasy. Softened butter creams better with sugar, creating air pockets for a tender cookie.
-
Don’t Overmix!
This is one of the most common baking pitfalls. Overmixing develops the gluten in the flour, leading to tough, dense cookies. Mix until just combined, and then stop!
-
Uniform Size for Even Baking:
Try to make your cookies roughly the same size. This ensures they all bake at the same rate. If you have some that are much larger than others, they might burn before the smaller ones are done, or vice versa.
-
Know Your Oven:
Oven temperatures can vary. What one oven calls 350°F might be slightly different in another. If your cookies often burn or aren’t done when they should be, consider investing in an inexpensive oven thermometer. It’s a game-changer!
For more on understanding your oven and baking temperatures, you can check out resources from places like University of New Hampshire Extension, which often provides great, reliable kitchen advice.
-
Cooling is Crucial:
Letting the cookies cool on the baking sheet for a few minutes after they come out of the oven is important. They continue to cook slightly and firm up. Then, moving them to a wire rack allows air to circulate, preventing the bottoms from steaming and becoming soggy.
-
Storage Savvy:
Once completely cool, store your breakfast cookies in an airtight container at room temperature for up to 3-4 days. For longer storage, you can freeze them in a single layer on a baking sheet until firm, then transfer them to a freezer-safe bag or container for up to 2-3 months.
Troubleshooting Common Breakfast Cookie Puzzles
Even with the best intentions and simple recipes, sometimes things don’t go exactly as planned. That’s perfectly okay! Every cook faces little hiccups. Here are some common issues and how to solve them:
-
My Cookies Are Too Flat!
This can happen if your butter was too soft or melted, if you overmixed the dough, or if you didn’t use enough flour or oats. Next time, ensure your butter is only softened, mix gently, and double-check your ingredient measurements.
-
My Cookies Are Too Hard/Dry!
This is often a result of overbaking or overmixing. Try reducing the baking time by a minute or two, and be extra mindful not to stir the dough too much once the flour is added. Using a touch more butter or a liquid element like applesauce can also help.
-
My Cookies Aren’t Sweet Enough!
This one is easy to fix for next time! You can increase the brown sugar slightly, or rely more on the sweetness of dried fruits. If you’re in a pinch and they’re already baked, a little drizzle of honey or maple syrup once they’re cooled can also do the trick.
-
The Dough Seems Too Sticky to Handle!
If your dough is very sticky, it might be the humidity, or perhaps your butter was a bit too soft. Try chilling the dough in the refrigerator for about 15-30 minutes. This makes it much easier to scoop and shape.
Remember, every batch is a learning experience. Don’t let a small setback discourage you. Just learn from it, adjust, and try again!
Frequently Asked Questions About Breakfast Cookies
Got a question swirling in your mind about these morning treats? I’ve got you covered with answers to some common beginner queries.
Q1: Can I make these breakfast cookies gluten-free?
Absolutely! Simply use certified gluten-free rolled oats and a gluten-free all-purpose flour blend. Ensure all your other ingredients, especially any add-ins like chocolate chips, are

Henry is the creator of CookCanvas, where home cooking meets creativity. With a passion for making food simple and enjoyable, he helps beginners and busy families cook confidently at home. Through easy tutorials, time-saving tips, and practical recipes, Henry turns everyday ingredients into delicious, stress-free meals anyone can make.
When he’s not testing new recipes, you’ll find him exploring local markets, photographing food, and sharing kitchen wisdom that inspires confidence in every cook.