Discard Pancake Recipe No Egg: Amazing & Easy!
This amazing, easy discard pancake recipe no egg is perfect for using up leftover sourdough discard. You’ll get fluffy, delicious pancakes without any eggs, making them great for those with dietary restrictions or when you’re simply out of eggs. This guide will show you how to whip up a fantastic breakfast in minutes, turning your discard into golden goodness.
Hey there, kitchen adventurers! It’s Henry from CookCanvas, your go-to spot for making cooking fun and simple. Ever stared at your sourdough starter discard and wondered what magical thing you could create with it besides more bread? You’re not alone! Many home cooks find themselves with this flavorful byproduct and are unsure how to transform it into something truly delicious. It can seem a bit daunting, but guess what? Making fantastic pancakes without eggs is totally achievable, and it’s surprisingly easy.
Today, we’re diving into a wonderful discard pancake recipe that’s egg-free and incredibly forgiving for beginners. We’ll walk through every single step, explaining why each part is important, so you can feel confident as you cook. Get ready to turn that humble discard into a stack of fluffy, golden pancakes that’ll make your breakfast dreams come true. Let’s get started on this delightful culinary journey!
Why This Egg-Free Discard Pancake Recipe Rocks
Using sourdough discard in pancakes adds a wonderful tangy depth that you just can’t get from regular flour. Plus, skipping the eggs makes this recipe super accessible for folks who might be vegan, have egg allergies, or just run out of eggs unexpectedly. It’s a win-win situation for flavor and practicality!
This recipe proves that you don’t need a long list of fancy ingredients to make something truly special. With just a few pantry staples, your sourdough discard can become the star of a delicious breakfast. It’s a fantastic way to reduce food waste and enjoy a homemade treat simultaneously.
What You’ll Need: Ingredients & Tools
Gathering your ingredients and tools before you start is always a good idea. It makes the whole cooking process smoother and less stressful, especially when you’re just getting the hang of things. Think of it as setting yourself up for success!
Pancake Ingredients
Here’s what you’ll need to create these delightful egg-free discard pancakes. Remember, the exact amounts might vary slightly based on the hydration of your starter, but this is a great starting point.
- 1 cup (about 200g) Sourdough Starter Discard (fed 4-12 hours prior for best flavor)
- 1 cup (240ml) Milk (dairy or non-dairy like almond, soy, or oat milk)
- 1 tablespoon (15g) Sugar (or maple syrup for a less refined option)
- 1 teaspoon Baking Powder (this helps with fluffiness since there are no eggs)
- 1/2 teaspoon Baking Soda (reacts with the acidity of the discard for lift)
- 1/4 teaspoon Salt
- 2 tablespoons (30g) Melted Butter or Neutral Oil (like vegetable or canola), plus more for greasing the pan
- Optional: Vanilla extract for extra flavor, chocolate chips, or berries
Essential Kitchen Tools
Having the right tools makes all the difference. These are the basics you’ll need for this simple pancake recipe.
- Large Mixing Bowl
- Whisk
- Measuring Cups and Spoons
- Spatula
- Non-stick Skillet or Griddle
- Ladle or 1/4 cup Measuring Cup for pouring batter
Step-by-Step: Crafting Your Egg-Free Discard Pancakes
Let’s get cooking! Follow these simple steps to create a beautiful stack of pancakes. We’ll break down each part so you can understand what’s happening and why.
Step 1: Combine Wet Ingredients
In your large mixing bowl, add the sourdough discard, milk, and sugar (or maple syrup). Whisk these together until they are well combined. This mixture forms the base of your pancake batter.
The sugar helps to tenderize the pancakes and adds a touch of sweetness. Using milk provides moisture and helps create a smooth batter. Don’t worry if the discard seems a bit lumpy; we’ll smooth that out as we go.
Step 2: Add Dry Ingredients
Next, sprinkle the baking powder, baking soda, and salt over the wet ingredients. Gently whisk them in. It’s important not to overmix at this stage; we just want to incorporate them evenly.
Baking powder and baking soda are your leavening agents here, working together to give your pancakes lift and that delightful fluffy texture. The salt balances the sweetness and enhances the overall flavor.
Step 3: Incorporate Fat and Flavorings
Pour in the melted butter or oil. If you’re using any optional flavorings like vanilla extract, now is the time to add them. Whisk everything together until just combined.
The fat adds richness and helps make the pancakes tender. Be careful not to overmix; a few small lumps in the batter are perfectly fine. Overmixing can lead to tough pancakes, and we want them light and airy!
Step 4: Rest the Batter (Optional but Recommended)
For the best texture, let the batter rest for about 10-15 minutes. This allows the baking soda and baking powder to start working and the flour (from the discard) to hydrate properly.
This resting period helps create those wonderfully airy pockets that make pancakes fluffy. While you can skip it if you’re in a rush, a short rest truly elevates the final result.
Step 5: Heat Your Skillet
Place your non-stick skillet or griddle over medium heat. You want it hot enough to cook the pancakes through without burning the outside. Add a small amount of butter or oil to the pan to prevent sticking.
A good test for heat is to flick a tiny drop of water onto the pan; it should sizzle and evaporate quickly. If it burns instantly, the pan is too hot. If it just sits there, it’s not hot enough.
Step 6: Cook the Pancakes
Using a ladle or a 1/4 cup measuring cup, pour the batter onto the hot skillet. Cook for about 2-3 minutes per side, or until you see bubbles forming on the surface and the edges look set.
Flip the pancake with your spatula when the underside is golden brown. Cook the other side for another 1-2 minutes until golden and cooked through.
Step 7: Serve and Enjoy!
Transfer the cooked pancakes to a plate. You can keep them warm in a low oven (around 200°F or 90°C) while you cook the rest of the batter. Serve them immediately with your favorite toppings!
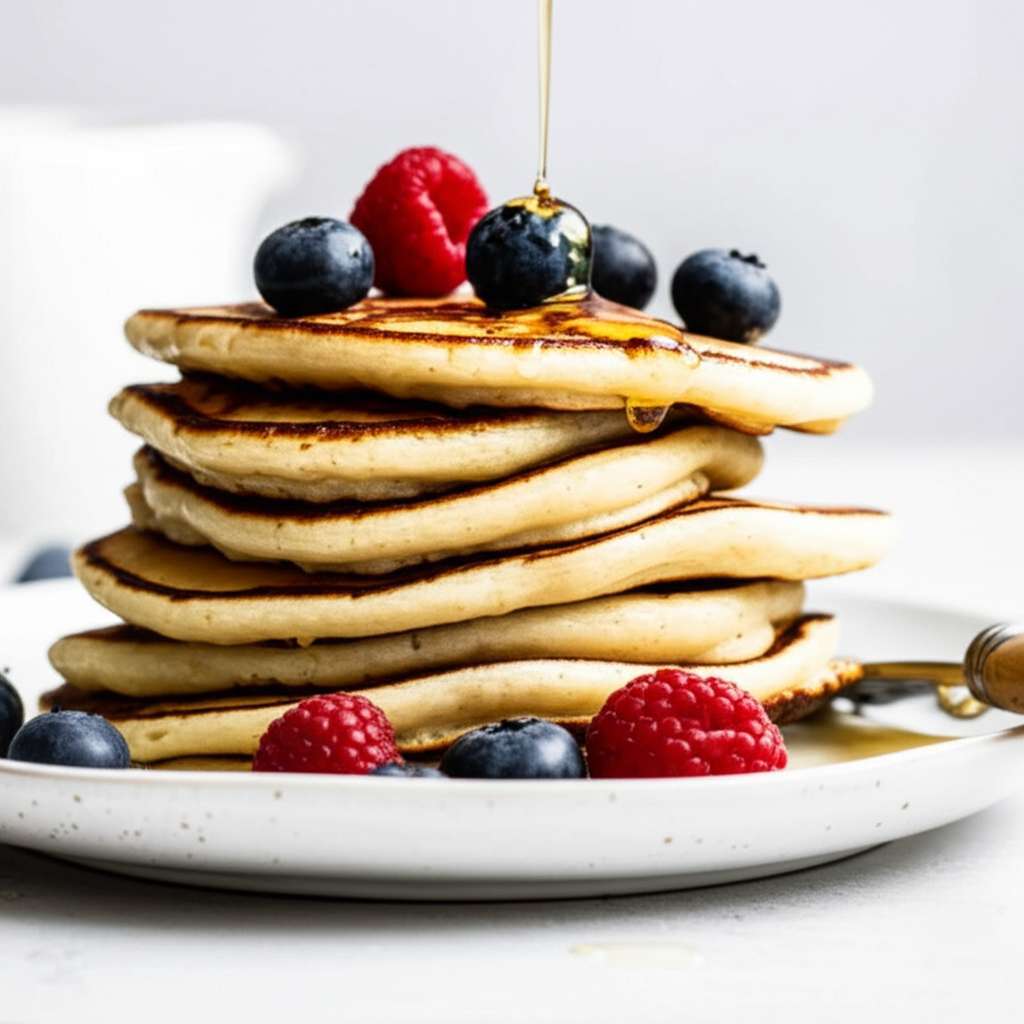
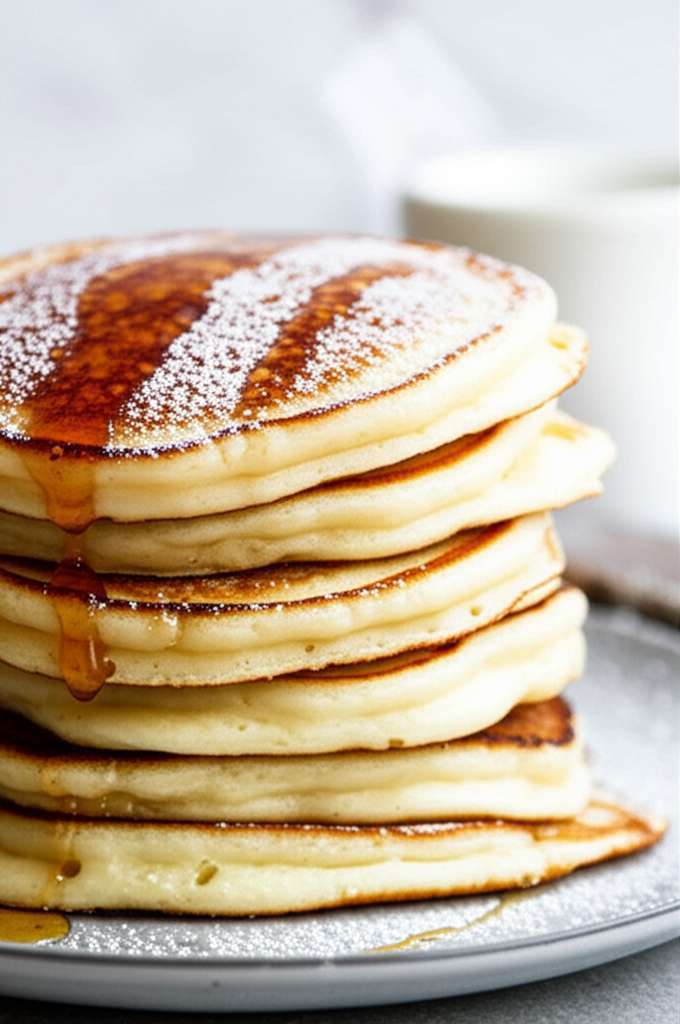
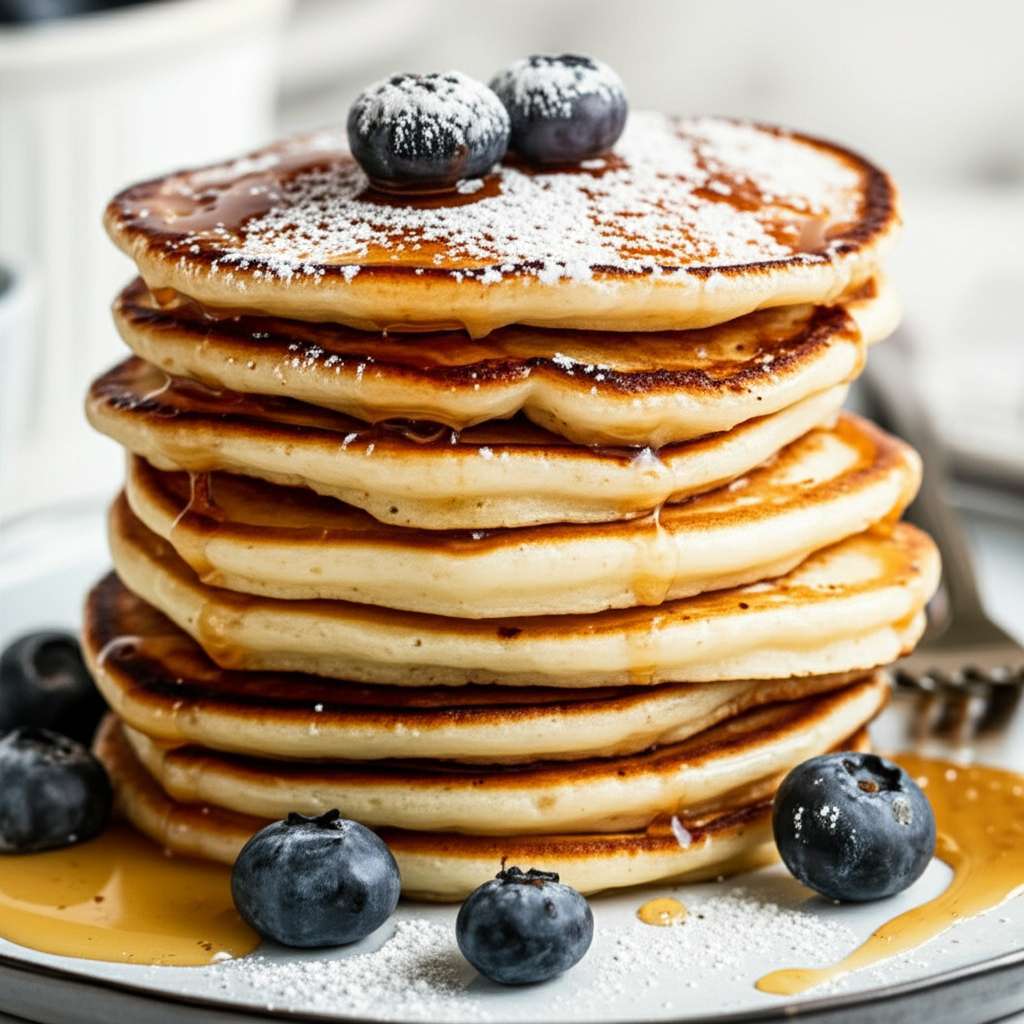
Pancakes are best enjoyed fresh off the griddle. Get creative with your toppings – fresh fruit, a drizzle of maple syrup, a dollop of yogurt, or a sprinkle of powdered sugar are all fantastic choices.
Tips for Perfect Egg-Free Discard Pancakes
Even simple recipes can benefit from a few insider tips. These will help you achieve consistently delicious results every time you make these pancakes.
Starter Consistency Matters
The thickness of your sourdough discard can influence the batter. If your discard is very thick, you might need to add a splash more milk to reach a pourable consistency. If it’s very thin, the pancakes might spread out more.
A good discard consistency for pancakes is like thick yogurt. It should pour easily but not be watery. Adjusting the milk by a tablespoon at a time is usually all it takes.
Heat Control is Key
Maintaining an even medium heat is crucial for cooking pancakes perfectly. Too high, and they’ll burn before the inside cooks. Too low, and they might not get golden and fluffy.
It often takes a little trial and error to find the sweet spot on your stove. Don’t be discouraged if the first pancake isn’t perfect; it’s often the “test pancake”!
Don’t Overmix!
This is a golden rule for any pancake recipe. Overmixing develops the gluten in the flour too much, resulting in tough, chewy pancakes instead of light and fluffy ones.
A few small lumps in the batter are a sign of a good, un-overmixed batter. Just stir until everything is just combined.
Ingredient Substitutions and Variations
Cooking is all about flexibility! Here are some ways you can swap ingredients or add your own creative flair to this basic recipe.
Milk Alternatives
If you don’t have dairy milk, any non-dairy milk works wonderfully. Almond, soy, oat, or even coconut milk can be used. The flavor might be subtly altered, but the texture will remain great.
Sweetener Swaps
Instead of granulated sugar, you can use honey, maple syrup, or agave nectar. Keep in mind that liquid sweeteners might add a tiny bit more moisture, so adjust slightly if needed.
Add-Ins for Extra Fun
Get creative with what you add to the batter!
- Chocolate Chips: A classic favorite that melts into gooey pockets.
- Berries: Fresh or frozen blueberries, raspberries, or chopped strawberries add a burst of flavor and color.
- Spices: A pinch of cinnamon or nutmeg can add a warm, cozy note.
- Citrus Zest: Lemon or orange zest can bring a bright, fresh flavor.
A Quick Look at Pancake Baking Science
Understanding a little bit about why things work can boost your cooking confidence. For these pancakes, the magic comes from a few key ingredients and processes.
The sourdough discard itself contains wild yeast and lactic acid bacteria, which contribute to flavor and can offer a slight lift. The baking soda and baking powder are chemical leaveners that produce carbon dioxide gas when mixed with liquid and heat. This gas gets trapped in the batter, creating air pockets and making the pancakes rise and become fluffy.
The protein in the flour (from the discard) forms a structure to hold these air bubbles. Fat (butter/oil) tenderizes the pancakes, and sugar not only sweetens but also aids in browning and tenderness.
For more on food safety, including proper cooking temperatures, you can refer to the USDA Food Safety guidelines.
Cooking Temperatures and Times
Getting the temperature right is one of the most important parts of making great pancakes. It ensures they cook evenly without burning.
| Heat Setting | Estimated Time per Side | Visual Cues |
|---|---|---|
| Medium-Low | 3-4 minutes | Slow to bubble, pale golden |
| Medium | 2-3 minutes | Steady bubbling, even golden brown |
| Medium-High | 1-2 minutes | Fast bubbling, risk of burning |
It’s generally best to aim for a consistent medium heat. You might need to adjust your stove’s dial slightly after cooking a few pancakes as the pan’s temperature can change.
Frequently Asked Questions (FAQ)
Here are some common questions beginners have about making egg-free discard pancakes. We’ve got you covered!
Q1: My batter is too thick. What should I do?
If your batter is too thick to pour easily, simply whisk in a tablespoon of milk at a time until it reaches a pourable consistency, similar to thick cream. This is common if your sourdough starter discard is on the thicker side.
Q2: My pancakes are flat. Why?
Flat pancakes can happen for a few reasons: the baking powder or baking soda might be old and lost their potency, you might have overmixed the batter, or the cooking temperature was too low. Ensure your leavening agents are fresh and try to mix the batter only until just combined.
Q3: Can I make these pancakes vegan?
Absolutely! To make these vegan, use a plant-based milk (like almond, soy, or oat milk) and replace the melted butter with a neutral vegetable oil or melted vegan butter. The rest of the recipe stays the same.
Q4: How do I store leftover pancake batter?
Egg-free pancake batter can usually be stored in the refrigerator for 1-2 days. However, the leavening agents will continue to react, so the batter might become very bubbly and lose some of its lift. It’s always best to make the batter fresh if possible, or be prepared for slightly less fluffy pancakes if using refrigerated batter.
Q5: My pancakes are sticking to the pan. What am I doing wrong?
Pancakes sticking often means your pan isn’t hot enough, you didn’t use enough fat to grease the pan, or your pan is no longer non-stick. Make sure your skillet is properly preheated over medium heat and use a little butter or oil for each batch. If your pan is old, it might be time to consider a new one.
Q6: How long can I keep sourdough discard before using it?
Sourdough discard is typically best used within a week or two of being stored in the refrigerator. For best results in baking, try to use discard that was fed within the last 4-12 hours, as it will have optimal flavor and leavening power.
Conclusion: Your Delicious Discard Transformation Awaits!
And there you have it – a simple, delicious, and incredibly rewarding way to use your sourdough discard! These egg-free pancakes are a testament to how versatile and forgiving home cooking can be. You’ve learned how to combine basic ingredients, manage heat, and transform something you might have otherwise thrown away into a breakfast masterpiece.
Don’t be afraid to experiment with the add-ins and toppings next time. Cooking is an adventure, and every batch of pancakes you make is a step towards greater kitchen confidence. So, go forth, enjoy your fluffy, tangy pancakes, and keep that creative spark alive in your kitchen! Happy cooking from CookCanvas!