Master the art of cutting herbs without bruising them! Learn simple techniques, the right tools, and common mistakes to avoid for fresh, vibrant herbs every time.
Chopping fresh herbs can feel a bit tricky when you’re starting out. It’s easy to end up with a mushy mess instead of those lovely, clean cuts you see in recipes. Don’t worry, though! It’s a common challenge, and this guide is here to make it simple and stress-free. We’ll walk through everything you need to know, from choosing the right knife to the best way to hold it, so your herbs look as good as they taste.
Why Avoiding Bruised Herbs Matters
When herbs get bruised, their delicate cell walls break. This releases their essential oils too early, causing them to lose some of their bright flavor and beautiful aroma. Bruised herbs can also turn brown and unappetizing much faster. Our goal is to make clean cuts that keep those oils locked in, preserving the herb’s freshness and vibrant color. This makes a big difference in how your finished dishes look and taste!
Choosing the Right Tools for the Job
Having the right tools makes any cooking task easier, and cutting herbs is no exception. You don’t need a whole fancy set of knives, but a couple of key items will help you achieve those perfect, bruise-free cuts.
Essential Tools:
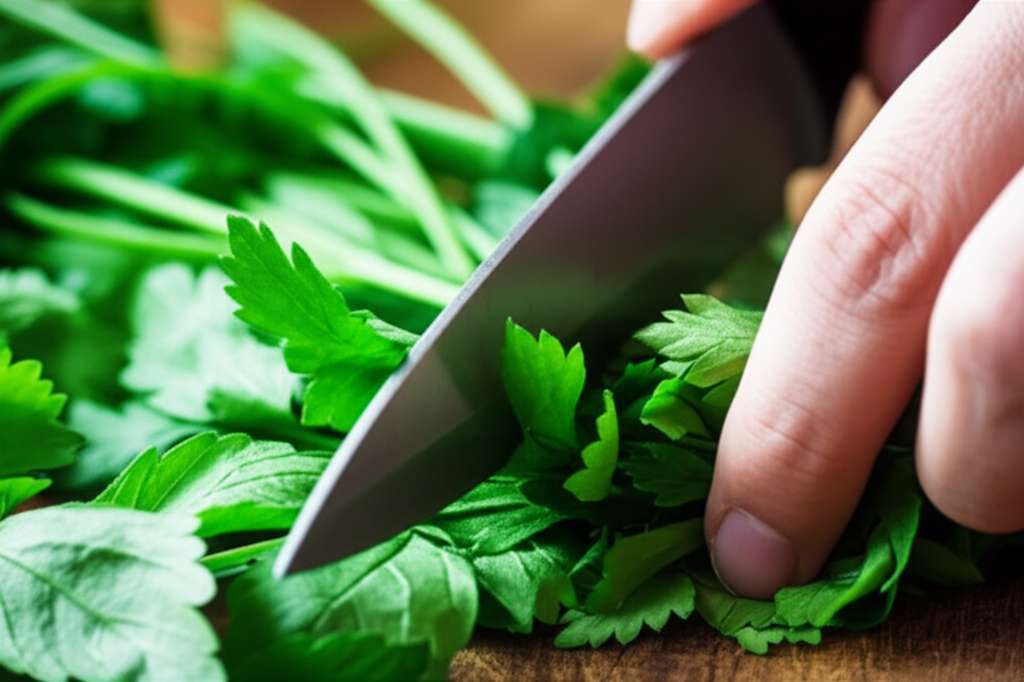
- Sharp Chef’s Knife: A sharp chef’s knife is your best friend in the kitchen. Its long, sharp blade allows for smooth, clean cuts. Dull knives force you to press harder, which is a sure way to bruise herbs.
- Cutting Board: A sturdy cutting board provides a stable surface. Wood or a thick plastic board is ideal. Make sure it doesn’t slide around!
- Small Bowl: You’ll need this to collect your beautifully chopped herbs.
Optional, But Helpful:
- Paring Knife: For smaller, more delicate herbs like chives or parsley sprigs, a small paring knife can offer more control.
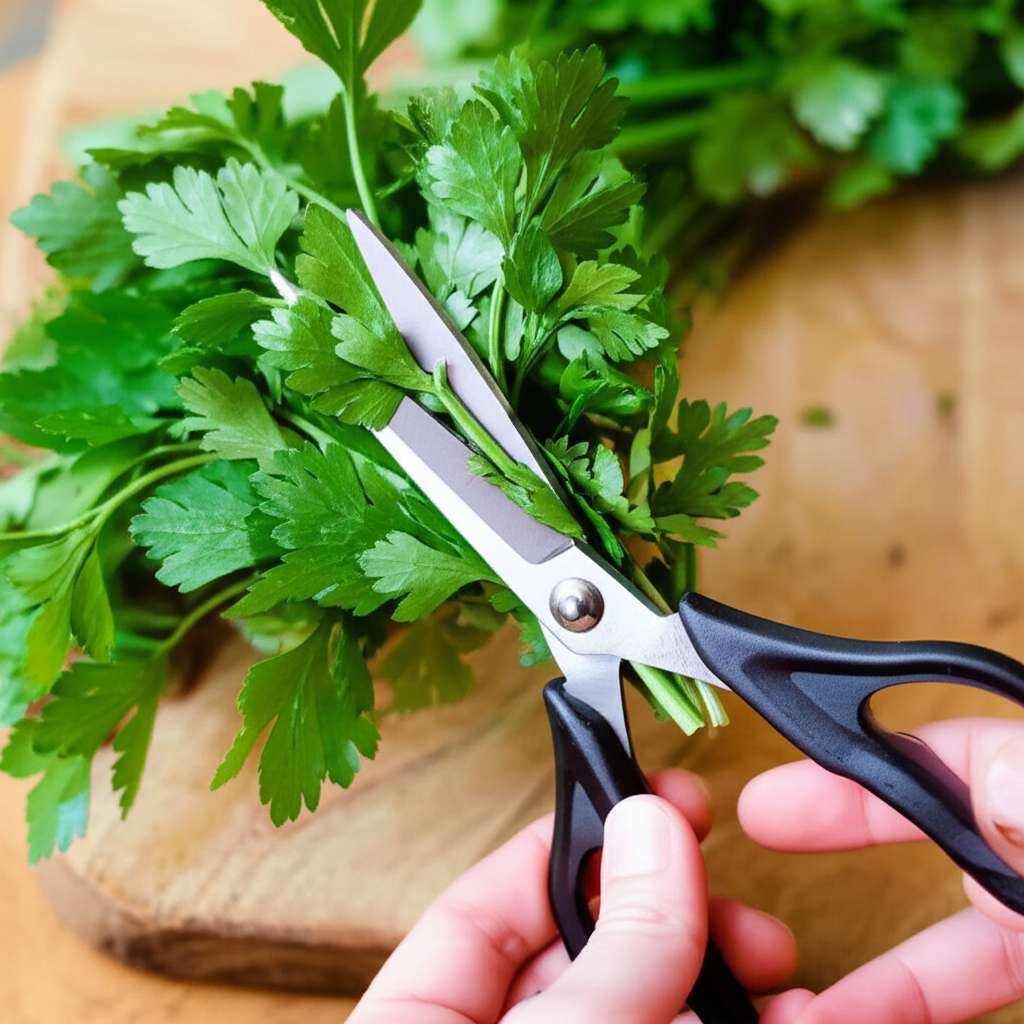
- Herb Scissors: These have multiple blades and are fantastic for quickly snipping herbs directly into a dish. They’re a fun shortcut for busy cooks!
Understanding Your Herbs
Different herbs have different textures and structures, which can affect how you cut them. For instance, leafy herbs like basil and parsley have broad leaves, while woody herbs like rosemary and thyme have tougher stems.
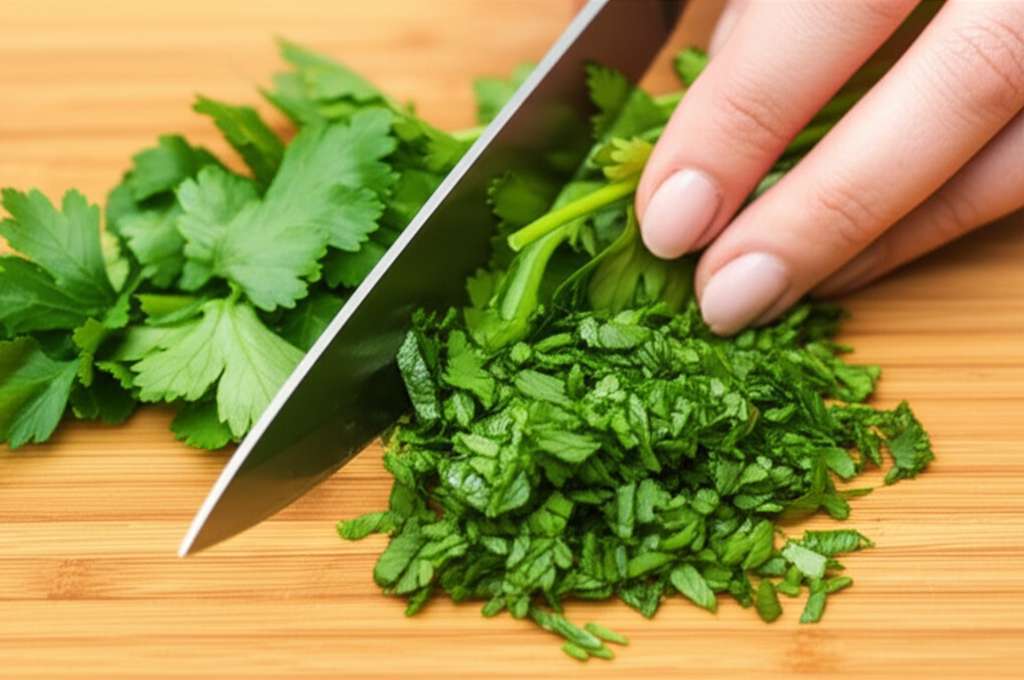
- Leafy Herbs (e.g., Parsley, Cilantro, Basil, Mint): These benefit most from a clean slicing motion. For basil, you might even learn a technique called “chiffonade” which means cutting them into thin ribbons.
- Tender Herbs (e.g., Dill, Tarragon): Similar to leafy herbs, a gentle slicing approach works best.
- Woody Herbs (e.g., Rosemary, Thyme, Sage): You’ll often want to strip the leaves from the woody stem first. Then, you can chop the leaves. Sometimes, the stems themselves can be used to infuse flavor into dishes, but for eating, the leaves are usually preferred.
The Step-by-Step Guide to Cutting Herbs Without Bruising
Let’s get to the heart of it! Follow these steps for perfectly chopped herbs, every single time. Remember, patience is key, and your skills will grow with practice.
-
Wash and Dry Your Herbs Thoroughly
Gently rinse your herbs under cool running water to remove any dirt or debris. After washing, it’s crucial to dry them completely. Excess water can make herbs slip and also dilute their flavor. You can pat them dry with paper towels or use a salad spinner for larger batches.
-
Gather and Prepare Your Herbs
For leafy herbs, gather the leaves into a loose bunch or ball. For herbs with woody stems like rosemary or thyme, strip the leaves off the stem by running your fingers down the stem. Discard the woody stems, as they can be tough and bitter.
-
Arrange Herbs on the Cutting Board
Place the bunch of herbs flat on your cutting board. If you’re cutting a large amount, arrange them into a neat, compact pile. This helps keep them from scattering as you chop.
-
Grip Your Knife Correctly
This is super important for control and safety. Hold the knife by the handle with your dominant hand, as you normally would. With your non-dominant hand, use your fingertips to gently hold the top of the blade or pinch the stem of the knife (the part right behind the blade). This is often called a “pinch grip” or “finger grip.” Keep your fingertips tucked slightly inward for safety.
-
Prepare to Chop: The Rocking Motion
Position your knife so the tip is resting on the cutting board. This allows you to use a rocking motion. Use your non-dominant hand to guide the knife, and your dominant hand to control the up-and-down motion. Your knuckles should lightly guide the blade as you move.
-
Make Clean Slices
Begin to chop by lifting the heel of the knife and bringing it down in a smooth, rocking motion. As you chop, use your non-dominant hand to advance the herbs slightly forward, gathering them as needed. Aim for swift, decisive cuts rather than sawing. The goal is to slice through the herbs cleanly, not to mash them.
-
Gather and Repeat
Once you’ve chopped through the entire bunch, use the flat side of your knife blade to gently sweep the chopped herbs together. Form them back into a pile and repeat the chopping motion until you reach your desired fineness. This ensures all the herbs are evenly cut.
-
Transfer to Your Dish
Carefully use your knife to scoop the chopped herbs into a small bowl or directly onto your plate. Admire your beautiful, bruise-free herbs!
Common Beginner Mistakes and Quick Fixes:
- Mistake: Using a dull knife.
Fix: Always use a sharp knife! If your knife isn’t sharp, you’ll have to press harder, which bruises the herbs. Sharpen your knives regularly or get them professionally sharpened. - Mistake: Sawing back and forth.
Fix: Instead of sawing, focus on a smooth, downward slicing motion. Let the sharp blade do the work. - Mistake: Pressing down too hard.
Fix: Apply gentle, consistent pressure. A sharp knife and a good rocking motion are all you need. - Mistake: Herbs scattering everywhere.
Fix: Keep your herbs in a neat, compact pile. Use your non-dominant hand to gently guide them as you chop.
Pro Tips for Herb-Cutting Success
Here are a few extra bits of wisdom to help you become a herb-chopping pro:
- Keep it Cool: For delicate herbs like basil, sometimes chilling them in the refrigerator for about 15-20 minutes before chopping can make them firmer and easier to cut cleanly.
- Chiffonade for Leafy Greens: For basil, mint, or large lettuce leaves, try the chiffonade technique. Stack the leaves, roll them up like a cigar, and then slice thinly. It creates beautiful ribbons.
- Don’t Overcrowd the Board: If you have a lot of herbs, it’s better to chop them in batches. Overcrowding makes it harder to control the knife and leads to bruising.
- Clean as You Go: Wipe down your knife and cutting board between different types of herbs, especially if they have strong flavors, to prevent flavor transfer.
- Embrace the “Rough Chop”: Sometimes, a very finely chopped herb isn’t necessary. A slightly coarser chop can be just as delicious and is often easier for beginners. Don’t aim for perfection, aim for deliciousness!
- Taste Test: After chopping, give your herbs a little sniff and taste. Do they smell and taste fresh and bright? That’s your sign you’ve done a great job!
Herb Cutting Comparison: Knife Grip Techniques
The way you hold your knife and herbs makes a huge difference in control and preventing bruising. Here’s a quick look at common grips and why they matter.
| Technique | Description | Pros | Cons | Best For |
|---|---|---|---|---|
| Handle Grip (Dominant Hand) | Holding the knife handle firmly with your dominant hand. | Standard, provides power and control for larger cuts. | Can be less precise for very delicate work if not combined with finger control. | General chopping, mincing, slicing. |
| Pinch Grip (Non-Dominant Hand) | Pinching the blade just behind the bolster (where the blade meets the handle) with your thumb and index finger, while other fingers wrap the handle. | Excellent control and precision, keeps fingers away from the blade. | Takes a little practice to get used to. | Fine chopping, mincing, detailed work, and most herb cutting. |
| Fingertip Grip (Non-Dominant Hand) | Using fingertips to lightly hold the top of the blade or the herbs themselves. | Good for guiding herbs and keeping them together. | Requires more caution to keep fingertips clear of the blade’s path. | Gathering and guiding herbs on the board. |
| Herb Bunching Technique | Gathering leafy herbs into a compact ball or log before chopping. | Keeps herbs from scattering, allowing for cleaner cuts. | Can be tricky with very slippery herbs if not dry enough. | Most leafy and tender herbs. |
Frequently Asked Questions About Cutting Herbs
Here are answers to some common questions beginners have about working with fresh herbs.
Why is knife sharpness so important for cutting herbs?
A sharp knife slices cleanly through the herb’s cell walls. A dull knife crushes them, releasing delicate oils and causing bruising, which leads to a mushy texture and loss of flavor.
Can I use something other than a chef’s knife?
Yes! A sharp paring knife is great for smaller herbs like chives. Herb scissors with multiple blades are also a fun and fast alternative for quick snipping.
How important is drying herbs after washing?
It’s very important! Excess water makes herbs slippery and difficult to cut cleanly. It can also dilute their flavor. Make sure they are thoroughly dry before chopping.
What’s the biggest mistake people make when cutting herbs?
The most common mistake is using a dull knife or pressing too hard. This crushes the herbs instead of slicing them, leading to bruising and a less vibrant flavor.
How should I store herbs after chopping them?
Ideally, chop herbs right before you use them for the freshest flavor. If you must store them, place them in an airtight container with a damp paper towel in the refrigerator for a day or two, but they will lose some vibrancy.
What do I do with the woody stems of herbs like rosemary?
For most recipes where you want the herb leaves, you’ll want to strip the leaves off the woody stem. The woody stems themselves are usually too tough to eat and can be discarded, though they can be used for infusing flavor in stocks or broths.
Keep Practicing, Keep Cooking!
You’ve now got the knowledge to confidently cut herbs without that dreaded bruising. Remember, the key is a sharp knife, a gentle but firm grip, and a smooth slicing motion. Don’t worry if your first few attempts aren’t perfect; every time you practice, you’ll get a little better, a little faster, and a lot more confident. Enjoy the process and the delicious, fresh flavors you’ll bring to your meals!