Removing chili seeds is simple! Cut chili in half, scoop out seeds with a spoon, and rinse for mild heat. This guide shows you how, making prep easy and stress-free.
Hey there, fellow kitchen adventurer! Ever stare at a chili pepper, wondering about those tiny seeds and how to handle them? It can feel a little tricky at first, right? Don’t worry, we’ve all been there! Learning to prep ingredients like chili is a huge step in building your kitchen confidence. In this guide, we’ll walk through how to remove chili seeds easily and safely. You’ll learn the best tools to use, a simple step-by-step process, and even a few clever tips to make it even smoother. Get ready to turn that little bit of confusion into a delicious win!
Why Remove Chili Seeds?
Chili seeds are often removed for a few key reasons, and understanding them can help you choose just the right amount of heat for your dish. The main culprit for the fiery kick in chili peppers is a compound called capsaicin. While capsaicin is found throughout the pepper, it’s most concentrated in the white pithy membranes that hold the seeds. The seeds themselves have some capsaicin, but usually less than the pith.
By removing the seeds and the pith, you can significantly reduce the overall heat of the chili pepper. This is super helpful if you love the flavor of chili but prefer a milder taste, or if you’re cooking for people who are sensitive to spice. It also makes the pepper easier to chop without that intense heat lingering on your fingers or making your eyes water. Plus, for some recipes, you might just want the smooth texture of the pepper flesh without the tiny seeds getting in the way.
What You’ll Need: Simple Tools for the Job
You don’t need fancy gadgets to tackle chili seeds! Most of what you need is probably already in your kitchen. Having the right tools makes the process smoother and safer, so let’s gather our essentials:

- Chili Peppers: Your star ingredient! Choose fresh, firm peppers.
- Cutting Board: A stable surface is key for safe chopping. A wooden or plastic board works perfectly.
- Sharp Knife: A sharp knife is actually safer than a dull one because it requires less force and is less likely to slip. A paring knife or a small chef’s knife is ideal for chili peppers.
- Spoon: A small spoon, like a teaspoon or a melon baller, is perfect for scooping out the seeds and pith.
- Optional: Gloves: If you have very sensitive skin or are working with extremely hot peppers, disposable gloves can be a lifesaver to prevent skin irritation.
- Optional: Paper Towels: Handy for wiping down your board and knife after you’re done.
Step-by-Step: How to Remove Chili Seeds Easily
Ready to get hands-on? This method is straightforward and effective, ensuring you can prep your chilies like a pro in no time. Remember, the goal is to be calm and deliberate with your movements. Take your time, and you’ll do great!
- Wash Your Chili: Before you do anything else, give your chili pepper a gentle rinse under cool running water. This removes any dirt or residue from the grocery store. Pat it dry with a paper towel so it doesn’t slip when you cut it.
- Trim the Stem: Lay the chili pepper on your cutting board. Using your sharp knife, carefully slice off the stem end. You don’t need to cut deep, just enough to remove the hard green part. This creates a flat surface for the next step.
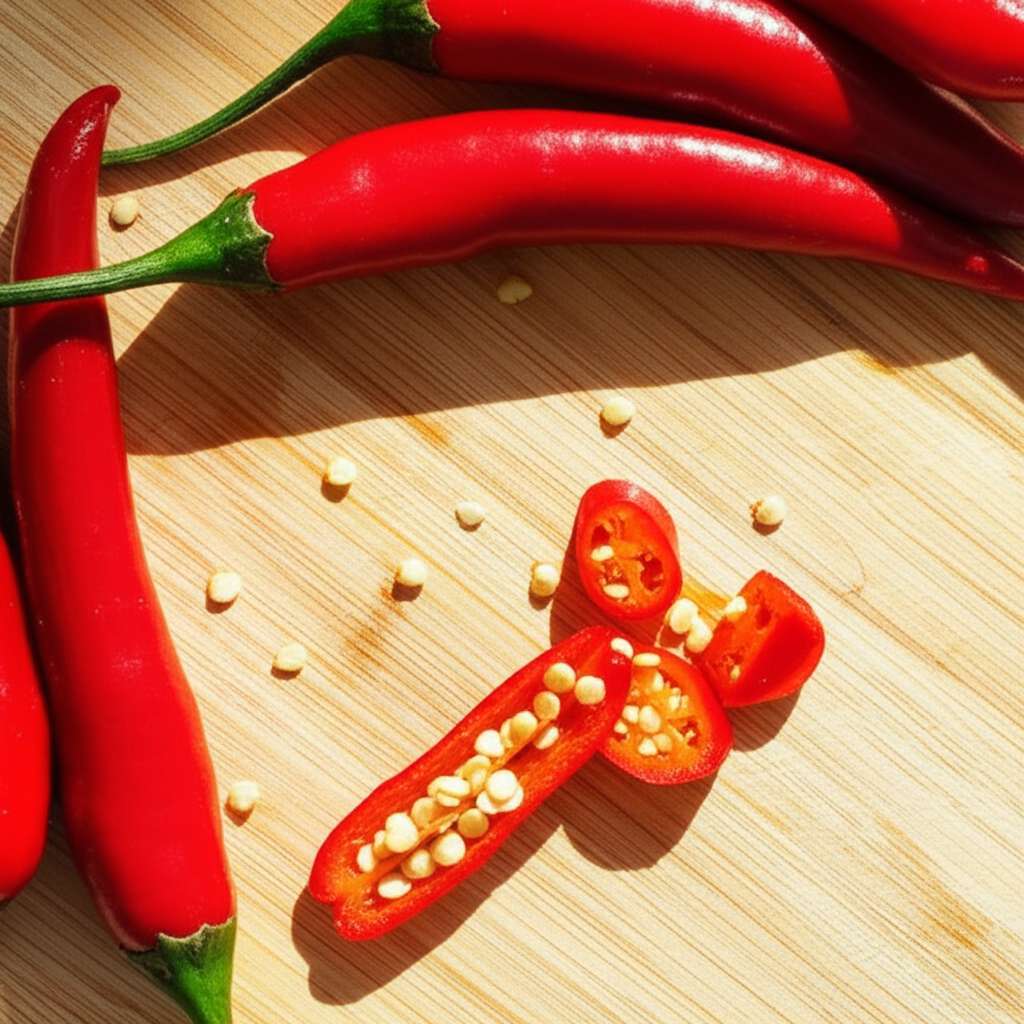
- Halve the Chili: Place the chili pepper flat on the cutting board. With a firm but gentle grip, slice the chili lengthwise from the stem end to the tip. You’ll now have two neat halves, exposing the inside of the pepper.
- Scoop Out the Seeds: Take your small spoon. Gently insert the tip of the spoon into one of the chili halves. Carefully scrape along the white pithy membrane where the seeds are attached. The seeds and pith should come away easily. Repeat this for the other half.

- Rinse (Optional): If you want to reduce the heat even further, you can rinse the inside of the chili halves under cool water. This helps wash away any lingering capsaicin from the pith. Pat them dry thoroughly with a paper towel.
- Dice or Slice: Once the seeds are removed, your chili is ready to be chopped, diced, or sliced according to your recipe! You can now easily cut the pepper into your desired shape and size.
Beginner Mistakes & Quick Fixes
Even the simplest tasks can have little hiccups when you’re learning. Don’t sweat it if something doesn’t go perfectly the first time! These are common moments and how to easily get back on track.
- Mistake: The chili is rolling around on the cutting board, making it hard to cut safely.
Fix: Always slice off the stem end first to create a flat base. If it’s still a bit wobbly, you can slice a very thin strip off the rounded side of one half to create another flat surface for stability. - Mistake: You accidentally cut yourself or got chili oil on your hands and now it’s burning.
Fix: Immediately wash your hands thoroughly with soap and cold water. Avoid touching your eyes or face! If the burning persists, try washing with milk or yogurt, as the fat can help neutralize the capsaicin. - Mistake: You scraped out most of the seeds, but there’s still a lot of white pith left.
Fix: Don’t worry too much! The pith is where most of the heat is, so removing it is the most important part. If you want it milder, give the inside a good rinse under cool water. For your next chili, try a spoon with a slightly sharper edge or even a melon baller for a more precise scrape.
Pro Tips for Chili Seed Removal
Want to make this even easier and more effective? Here are a few handy tips from experienced cooks that will make your chili prep a breeze:
- Wear Gloves for Hot Peppers: For jalapeños, serranos, or any pepper you know packs a punch, wearing thin disposable gloves is a game-changer. It protects your skin from the capsaicin, so you won’t have that burning sensation later.
- Use the Right Spoon: A small, slightly curved spoon like a teaspoon works best for scooping. A melon baller can also be surprisingly effective at getting into the curves of the pepper.
- Don’t Fear the Pith: Remember, the white pith is where most of the heat resides. If you want mild chili, make sure to scrape out as much of this as you can. If you want more heat, leave some pith attached.
- Clean as You Go: Wipe down your knife and cutting board with a damp paper towel after handling chili, especially before preparing other ingredients. This prevents cross-contamination of heat.
- Seed and Dice in One Go: Once the seeds are out, you can often dice or slice the pepper halves directly on the cutting board without moving them. This saves an extra step and keeps your workspace tidy.
- Taste (Carefully!): If you’re unsure how hot a chili is, taste a tiny sliver of the flesh (avoiding the pith and seeds). This helps you gauge the heat level for your dish and adjust accordingly.
Comparing Tools for Seed Removal
While a simple spoon is usually all you need, different tools can offer slightly different experiences when it comes to removing chili seeds. Here’s a quick look at what you might use:
| Tool | Best For | Pros | Cons |
|---|---|---|---|
| Teaspoon | General seed and pith removal | Readily available, easy to control, good for scraping | Can sometimes miss small pockets of seeds |
| Melon Baller | Getting into curves and nooks | Effective at scooping out membranes, good for rounder peppers | Might be slightly less intuitive for scraping flat surfaces |
| Small Paring Knife | Cutting away pith (use with caution!) | Precise, can remove stubborn pith | Requires careful handling to avoid cutting yourself or the pepper flesh too much |
| Fingers (with gloves!) | Quick removal after cutting | Fast and intuitive, allows for a good feel of the pepper | Requires gloves for hot peppers to prevent skin irritation |
Frequently Asked Questions About Chili Seeds
Got more questions swirling around? We’ve got you covered with answers to common concerns beginners have.
- Do I have to remove the seeds from chili peppers?
- No, you don’t have to! It depends on the heat level you want. The seeds and the white pith attached to them contain most of the capsaicin, which is what makes chilies spicy. Removing them makes the pepper milder.
- What if I don’t have a spoon? Can I use my fingers?
- For mild peppers like bell peppers or poblanos, you might be able to use your fingers. However, for hotter peppers like jalapeños or serranos, it’s highly recommended to wear gloves if you use your fingers to avoid skin irritation. A knife or spoon is generally safer and cleaner.
- How can I tell if I’ve removed enough seeds?
- Visually, you’re looking to remove most of the small, pale seeds and the white, spongy membrane they’re attached to. If you want a milder pepper, try to scrape out as much of that white pith as possible. A quick rinse under water can help wash away any remaining spicy oils.
- What should I do if chili oil gets on my hands?
- Wash your hands immediately with soap and COLD water. Avoid hot water, as it can open your pores and make the burning sensation worse. You can also try rubbing your hands with vegetable oil or even dabbing them with milk or yogurt, as the fat can help neutralize the capsaicin.
- Does removing seeds make chili taste different?
- Yes, it primarily affects the heat level. The flavor of the chili pepper itself is in the flesh. Removing the seeds and pith reduces the spiciness, allowing the pepper’s inherent fruity or earthy notes to come through more clearly without the overwhelming heat.
- Can I remove seeds from dried chili peppers the same way?
- Yes, the process is similar, but dried chilies can be more brittle. You might want to rehydrate them slightly in warm water for about 15-30 minutes before cutting. This makes them more pliable and easier to handle, preventing them from breaking apart too much.
You’ve Got This!
See? Removing chili seeds is a totally manageable kitchen task. You’ve learned how to prepare your tools, followed a simple step-by-step process, and picked up some handy tips to make it even smoother. Every time you practice this, you’ll feel more comfortable and confident in your kitchen. Embrace the process, celebrate your successes, and enjoy the delicious results you create!